This article will walk you through the steps for preparing fresh "Toast Flex" terminal.
| If this is a warranty replacement, the broken terminal will need to be packaged up in the same box the new terminal arrived in. Toast includes a return label you can use to return the broken terminal. If toast doesn't receive the broken terminal in 30 days your restaurant will be charged for the new terminal. |
- Activate Terminal
- Press and hold just the Power button for 5 seconds until the device powers on.
- TapGet Startedon the welcome screen.

- TapACCEPT & CONTINUE.

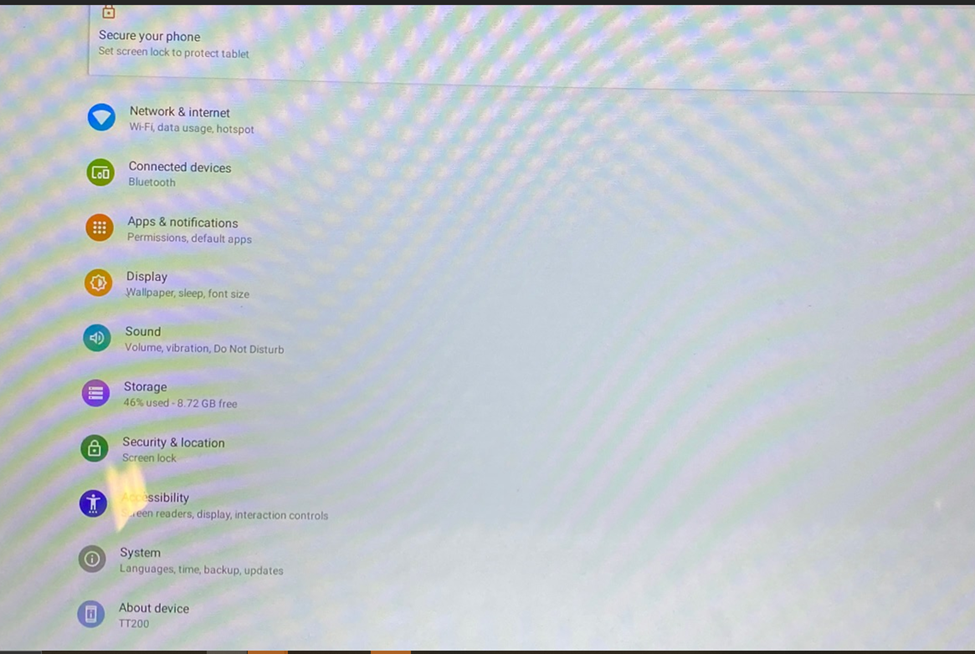
- Select the setting tab below
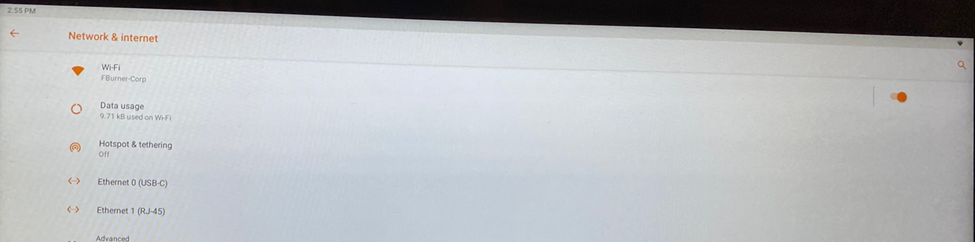
- Select Network & Internet
- Turn WIFI off by selecting the button below and you should only be connected to ETHERNET 0 (USB-C)
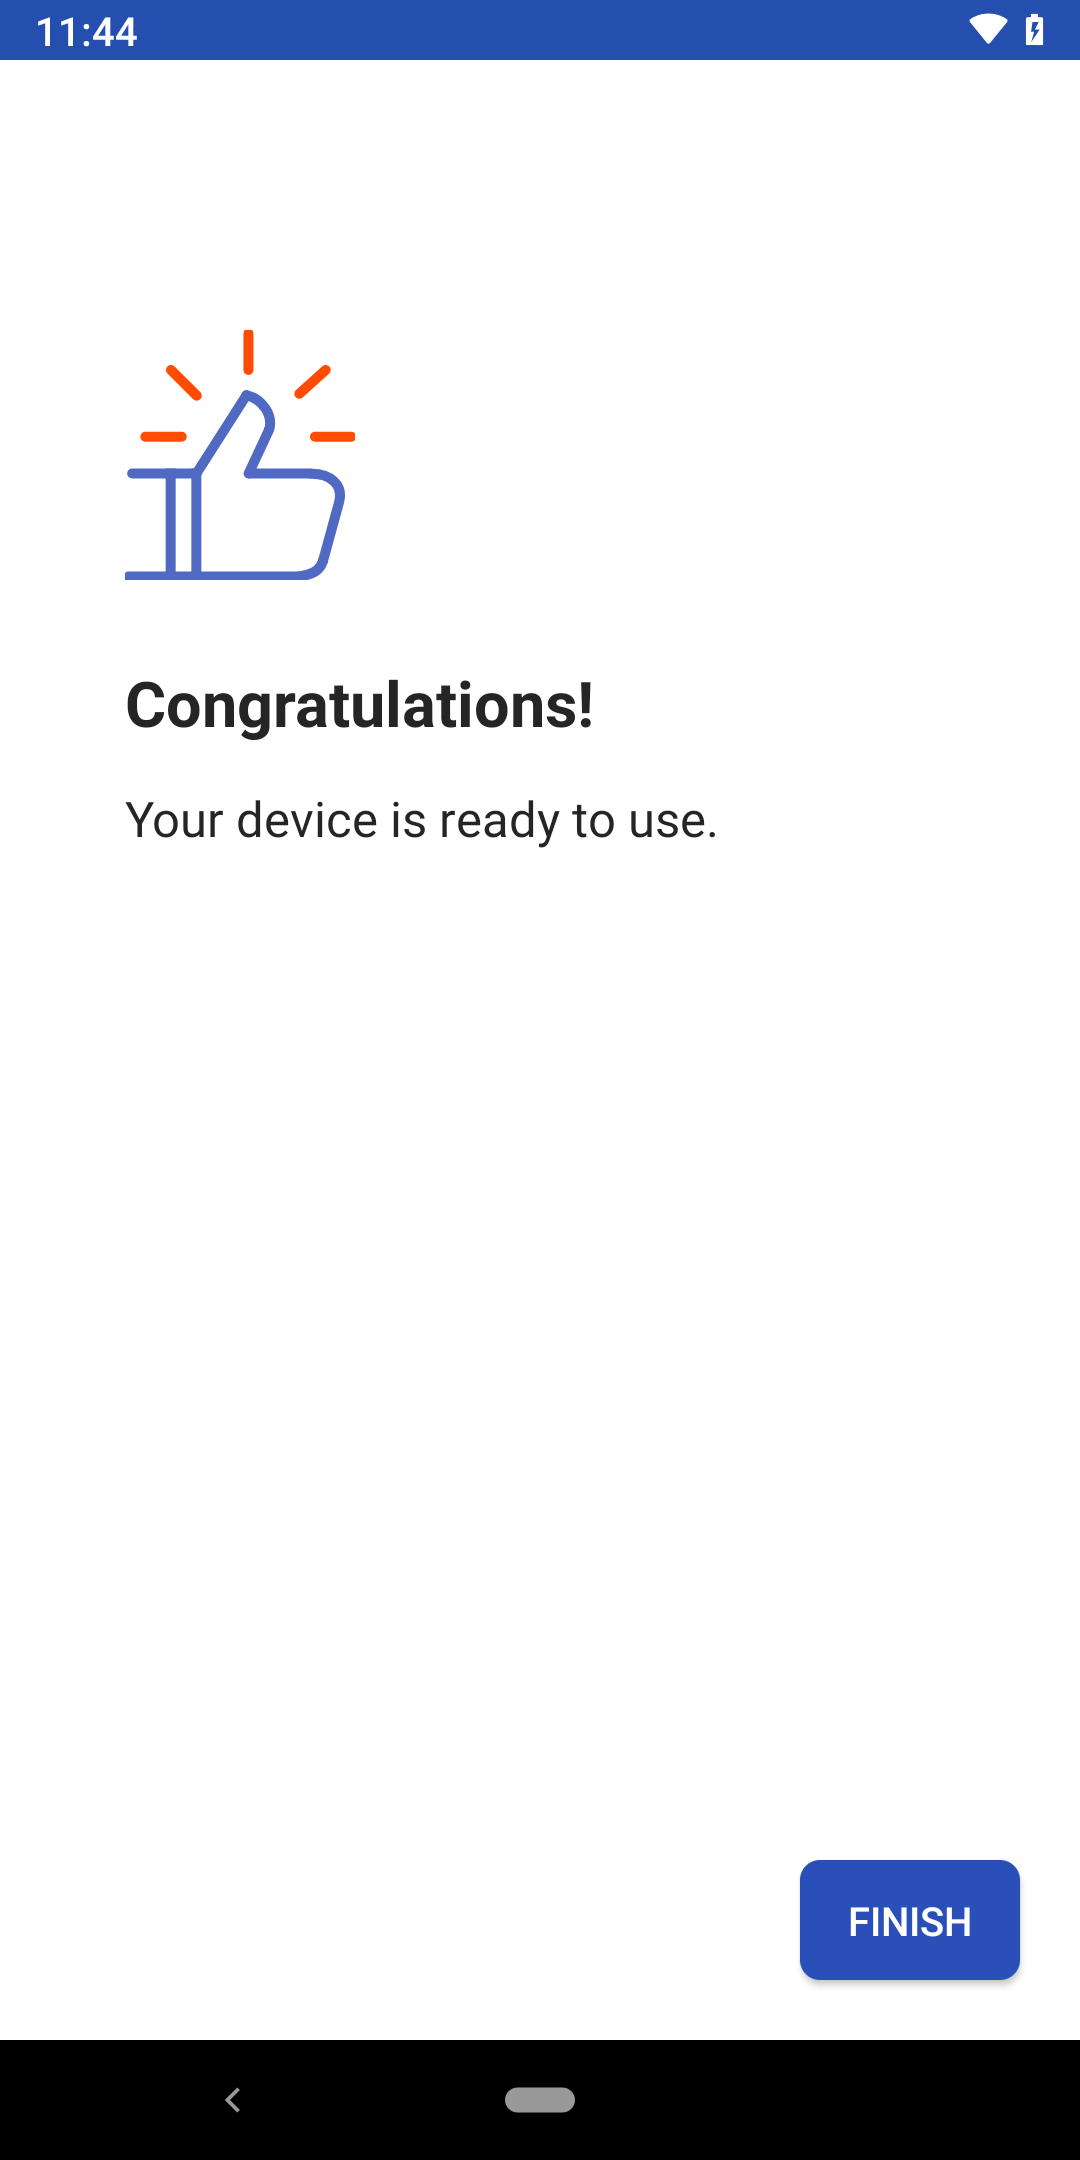
- On the Congratulations screen tap FINISH.
Time zone configurationYou will be returned to the home screen. Toast defaults to the Eastern Standard Time zone.
If you are in another time zone like CST in Texas, follow the next 8 steps.
If you are in the EST time zone, like in Florida you may skip to step 18 "Configure Toast app".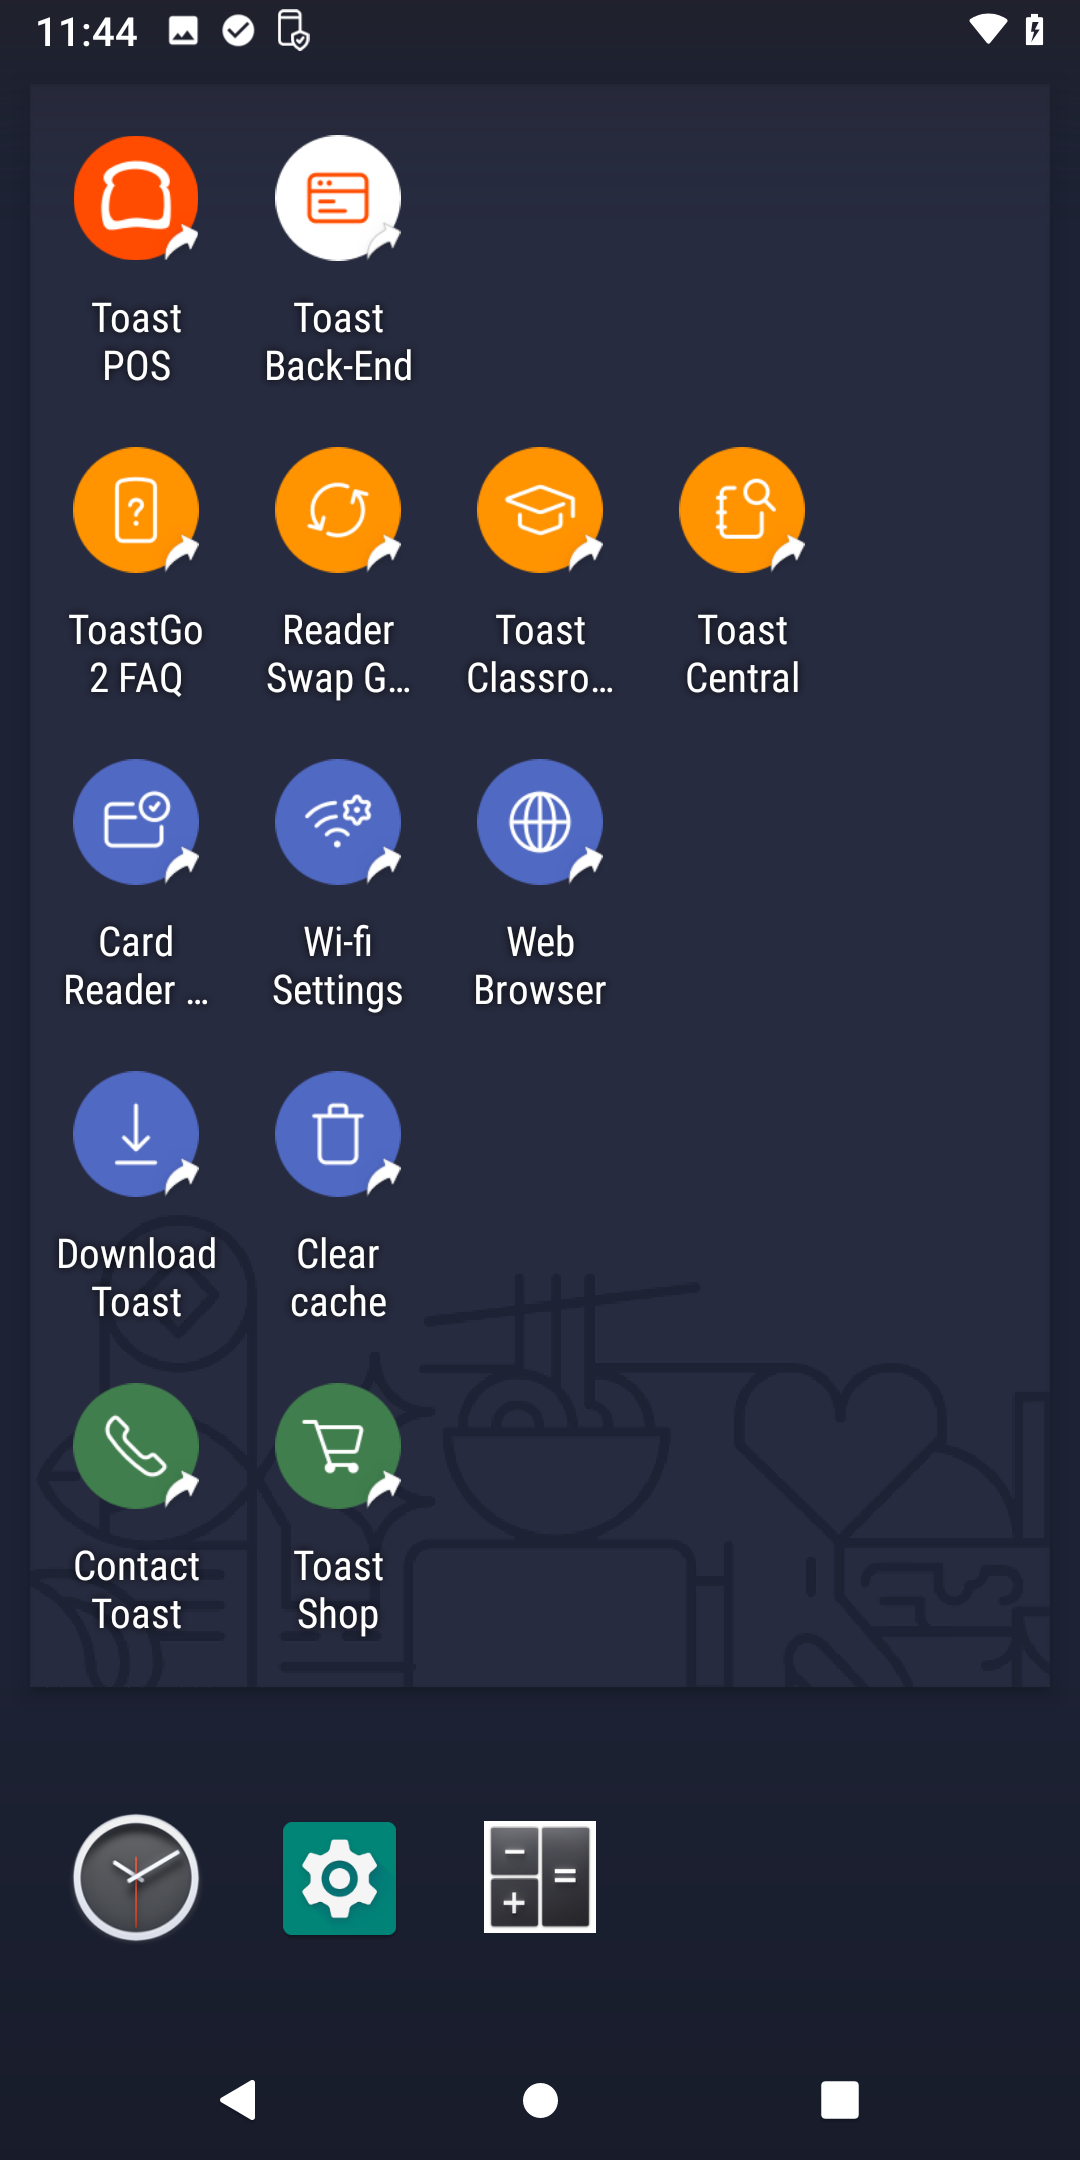
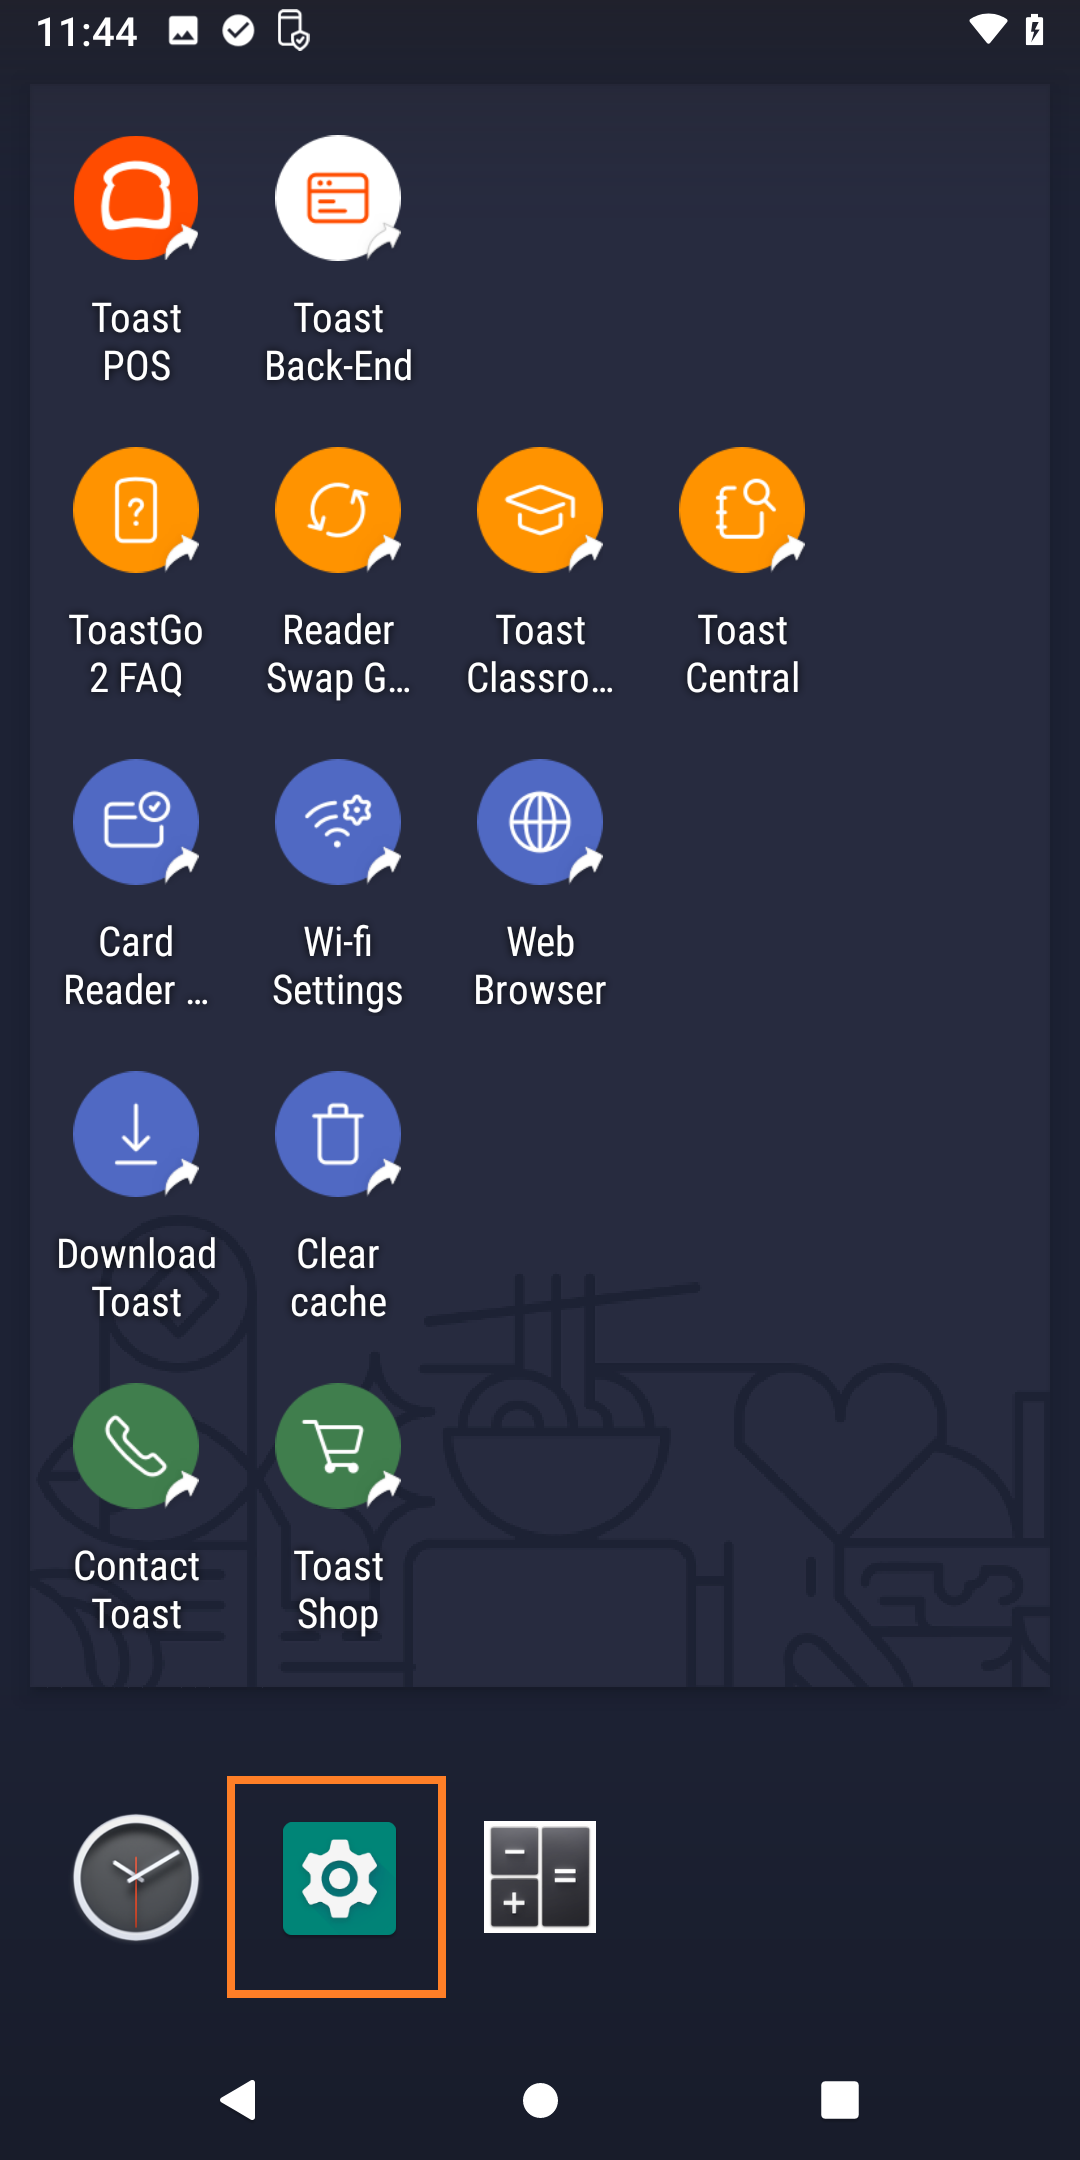
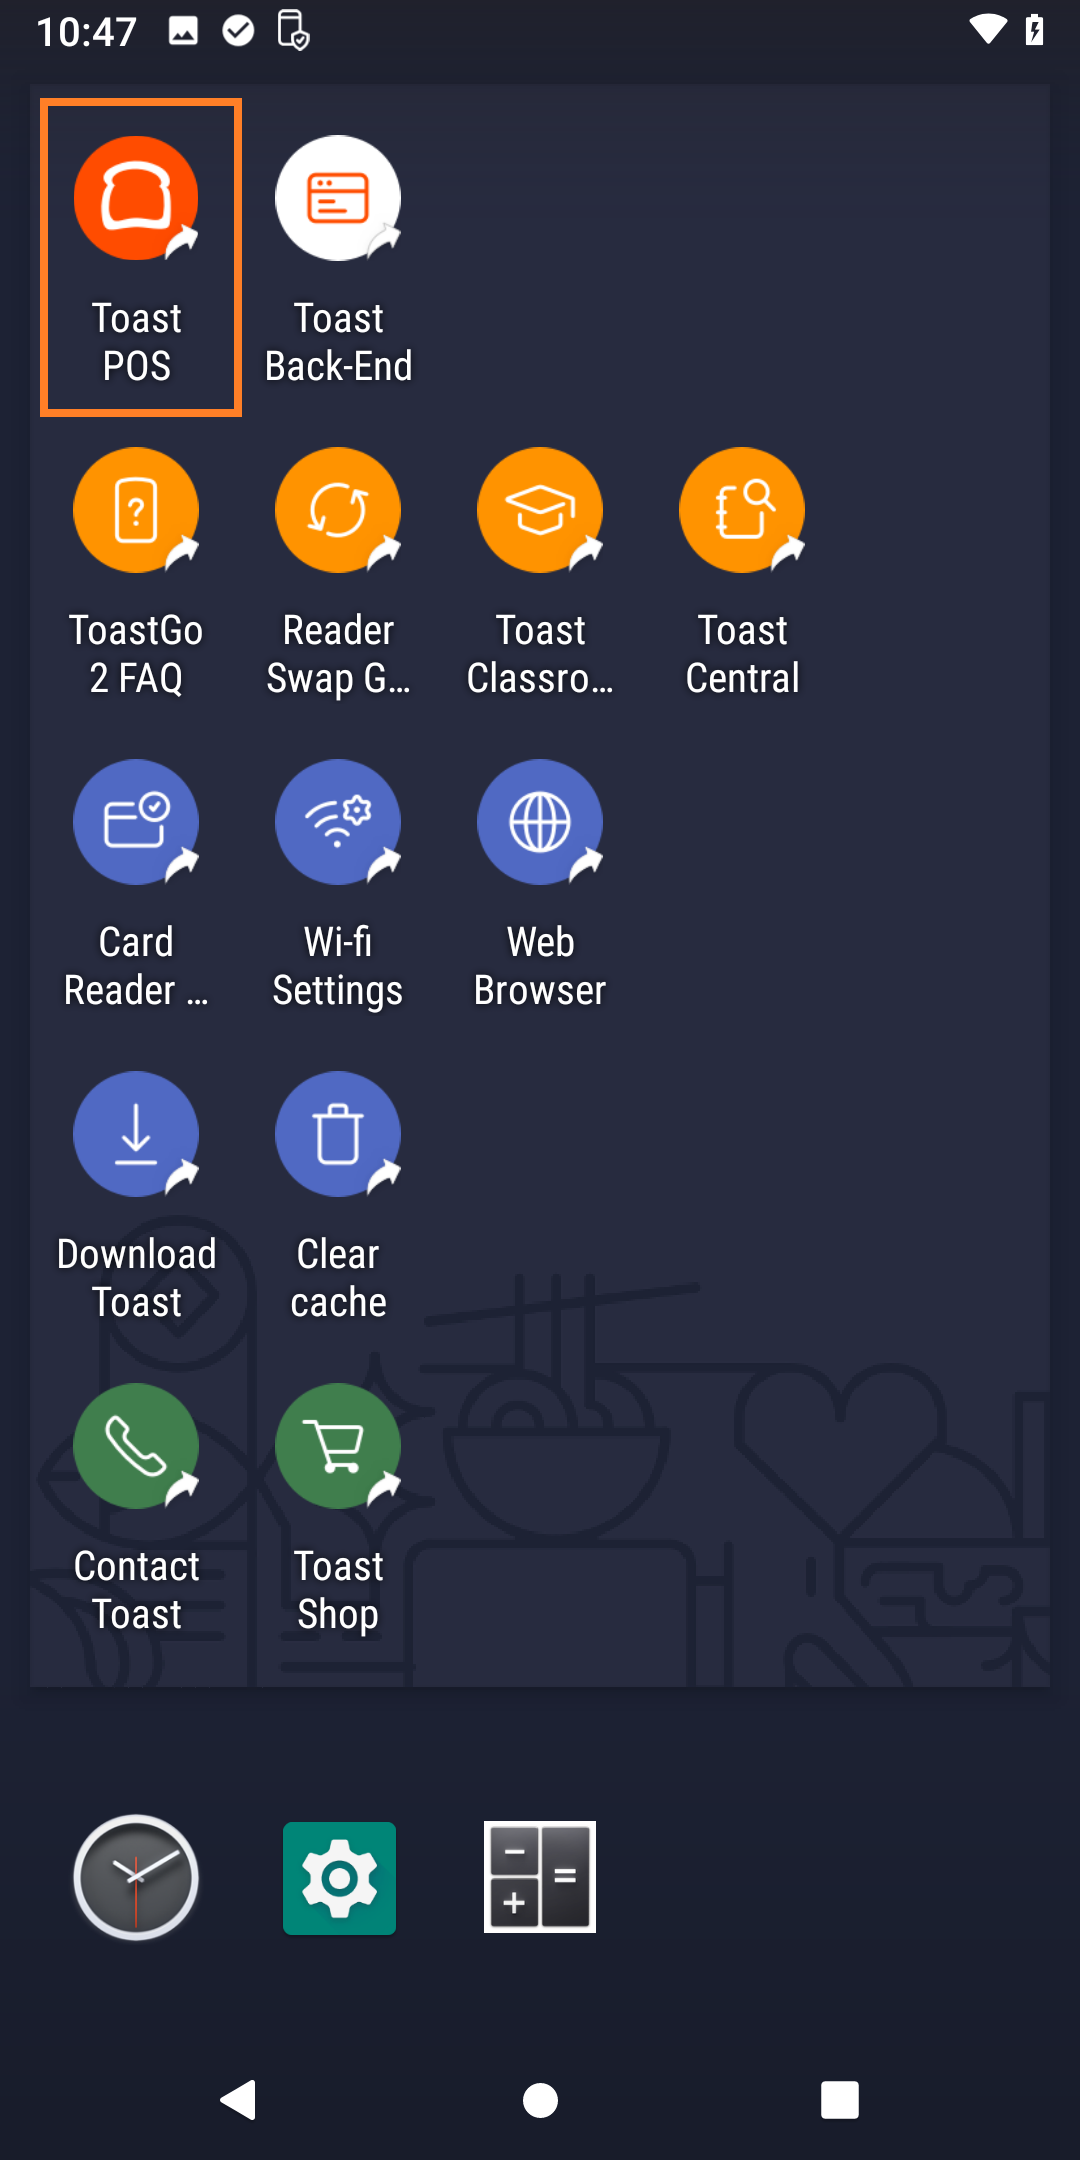
- Tap theGear iconto open the handheld's settings.
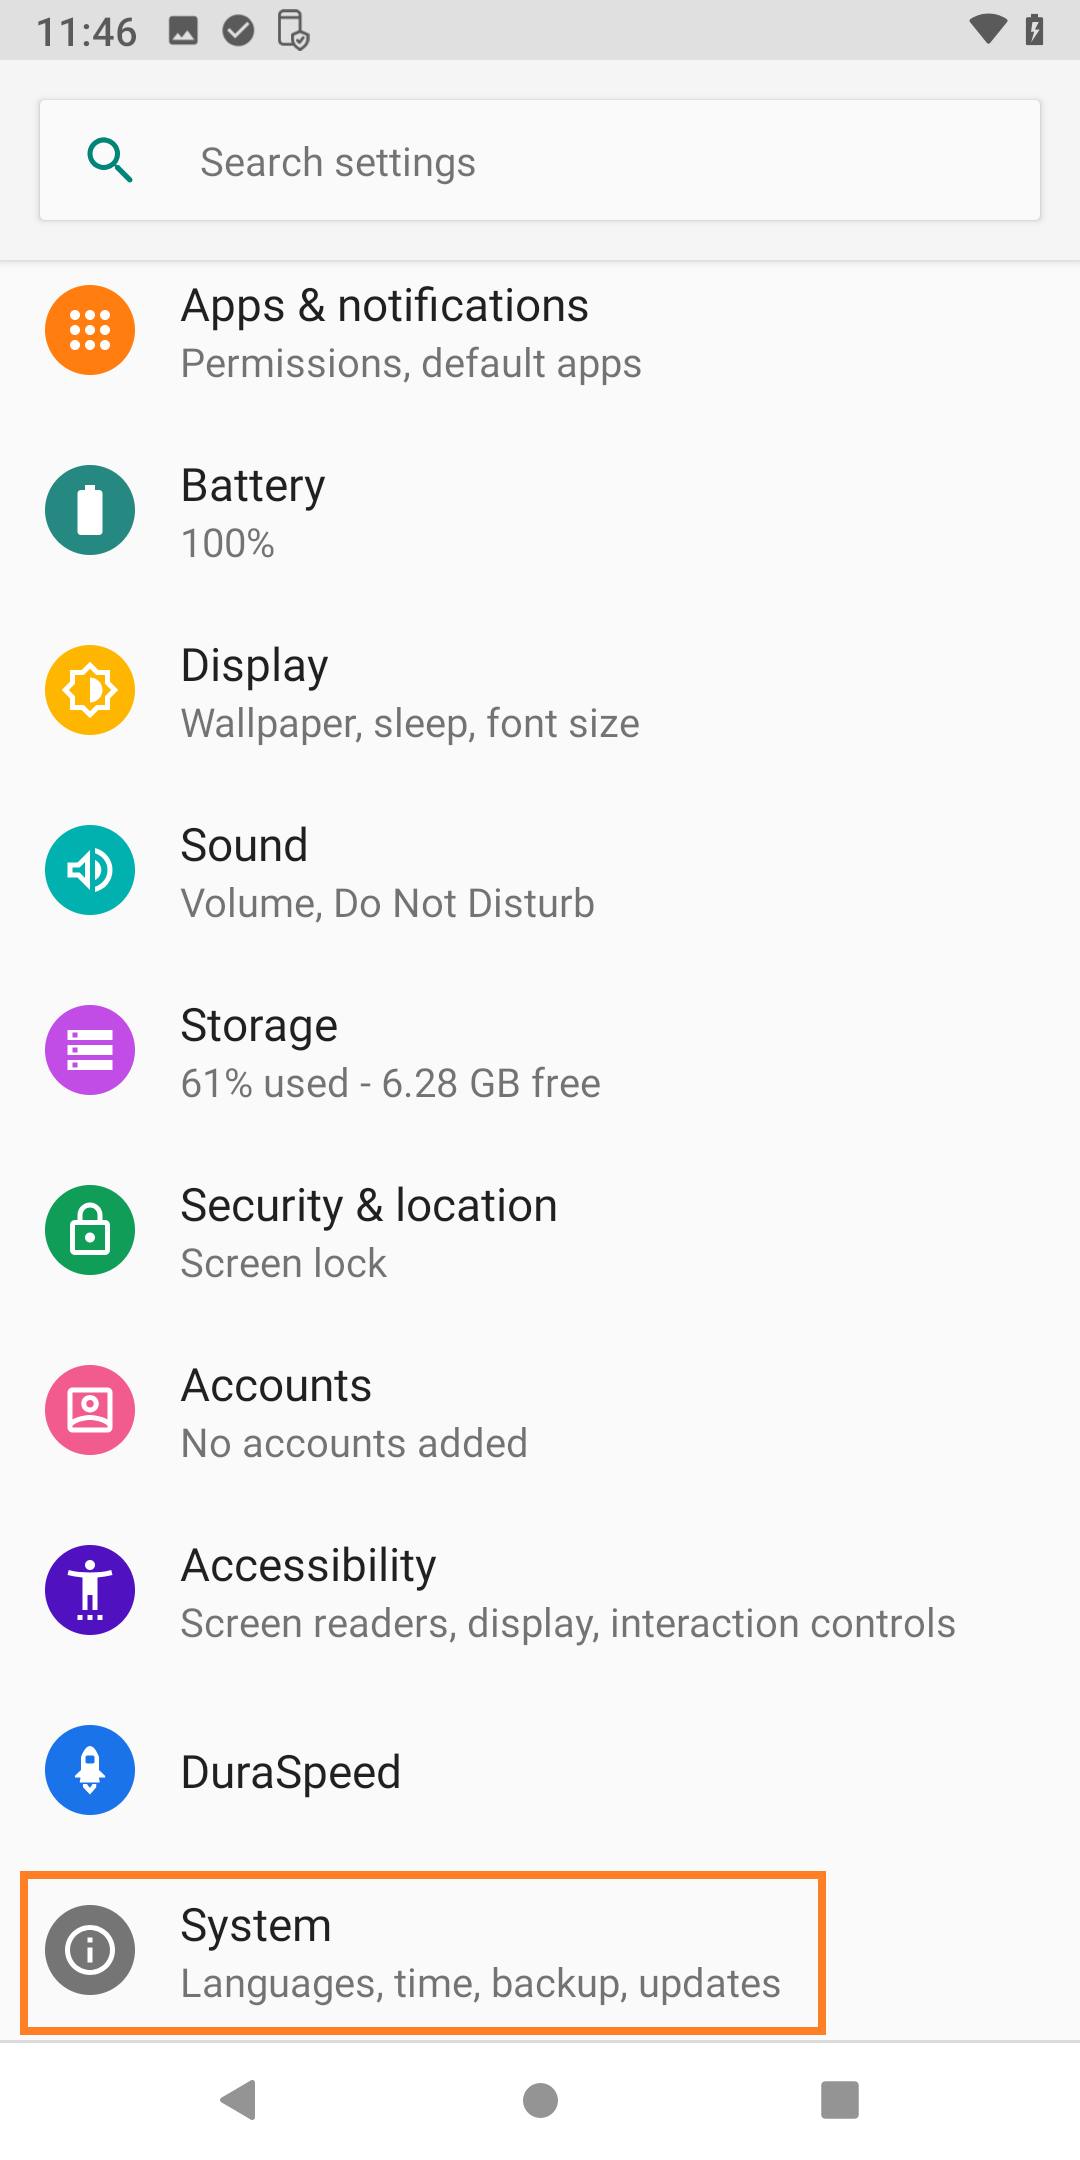
- Scroll down and tap System.
- TapDate & time.

- TapSelect time zone.
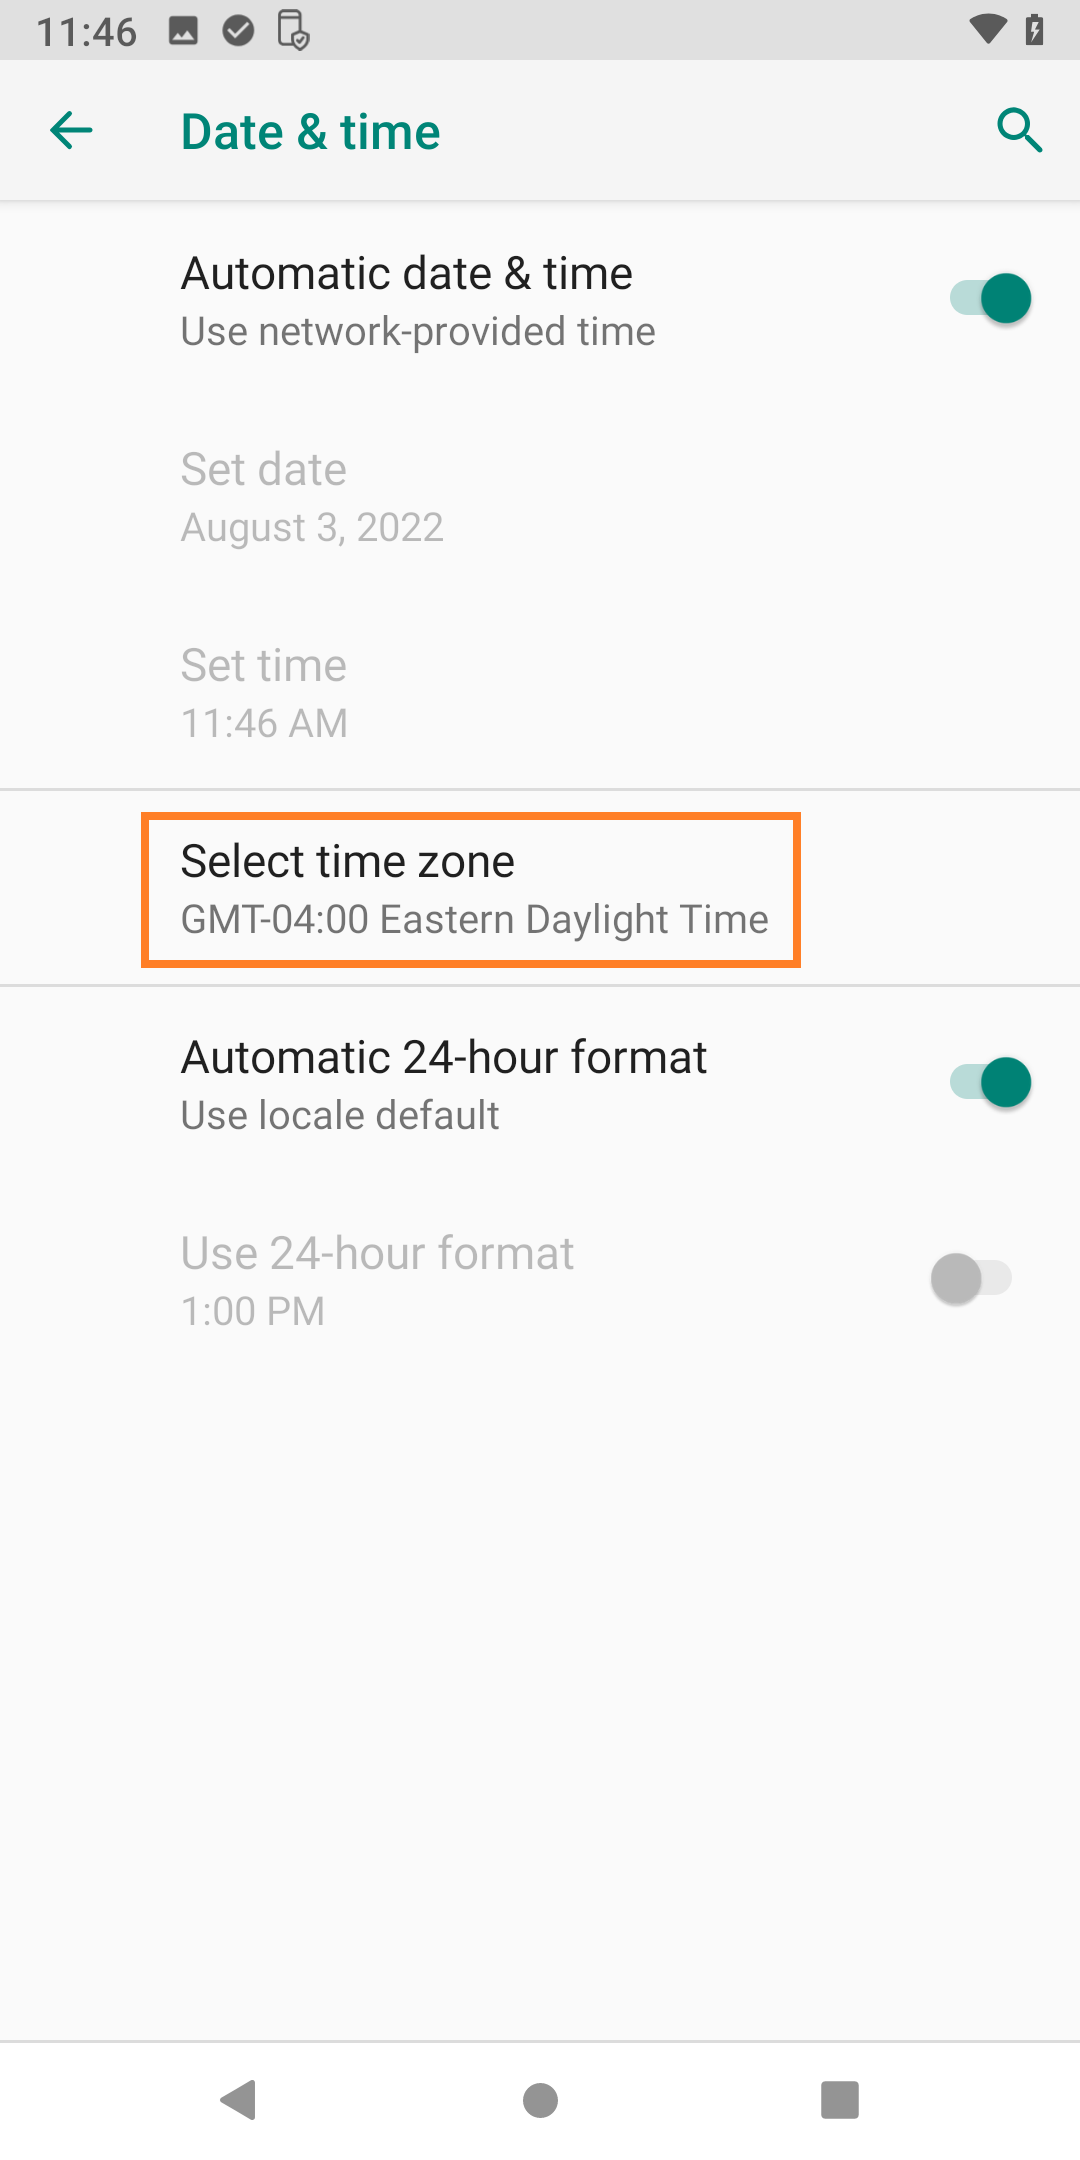
- Tap time zone.
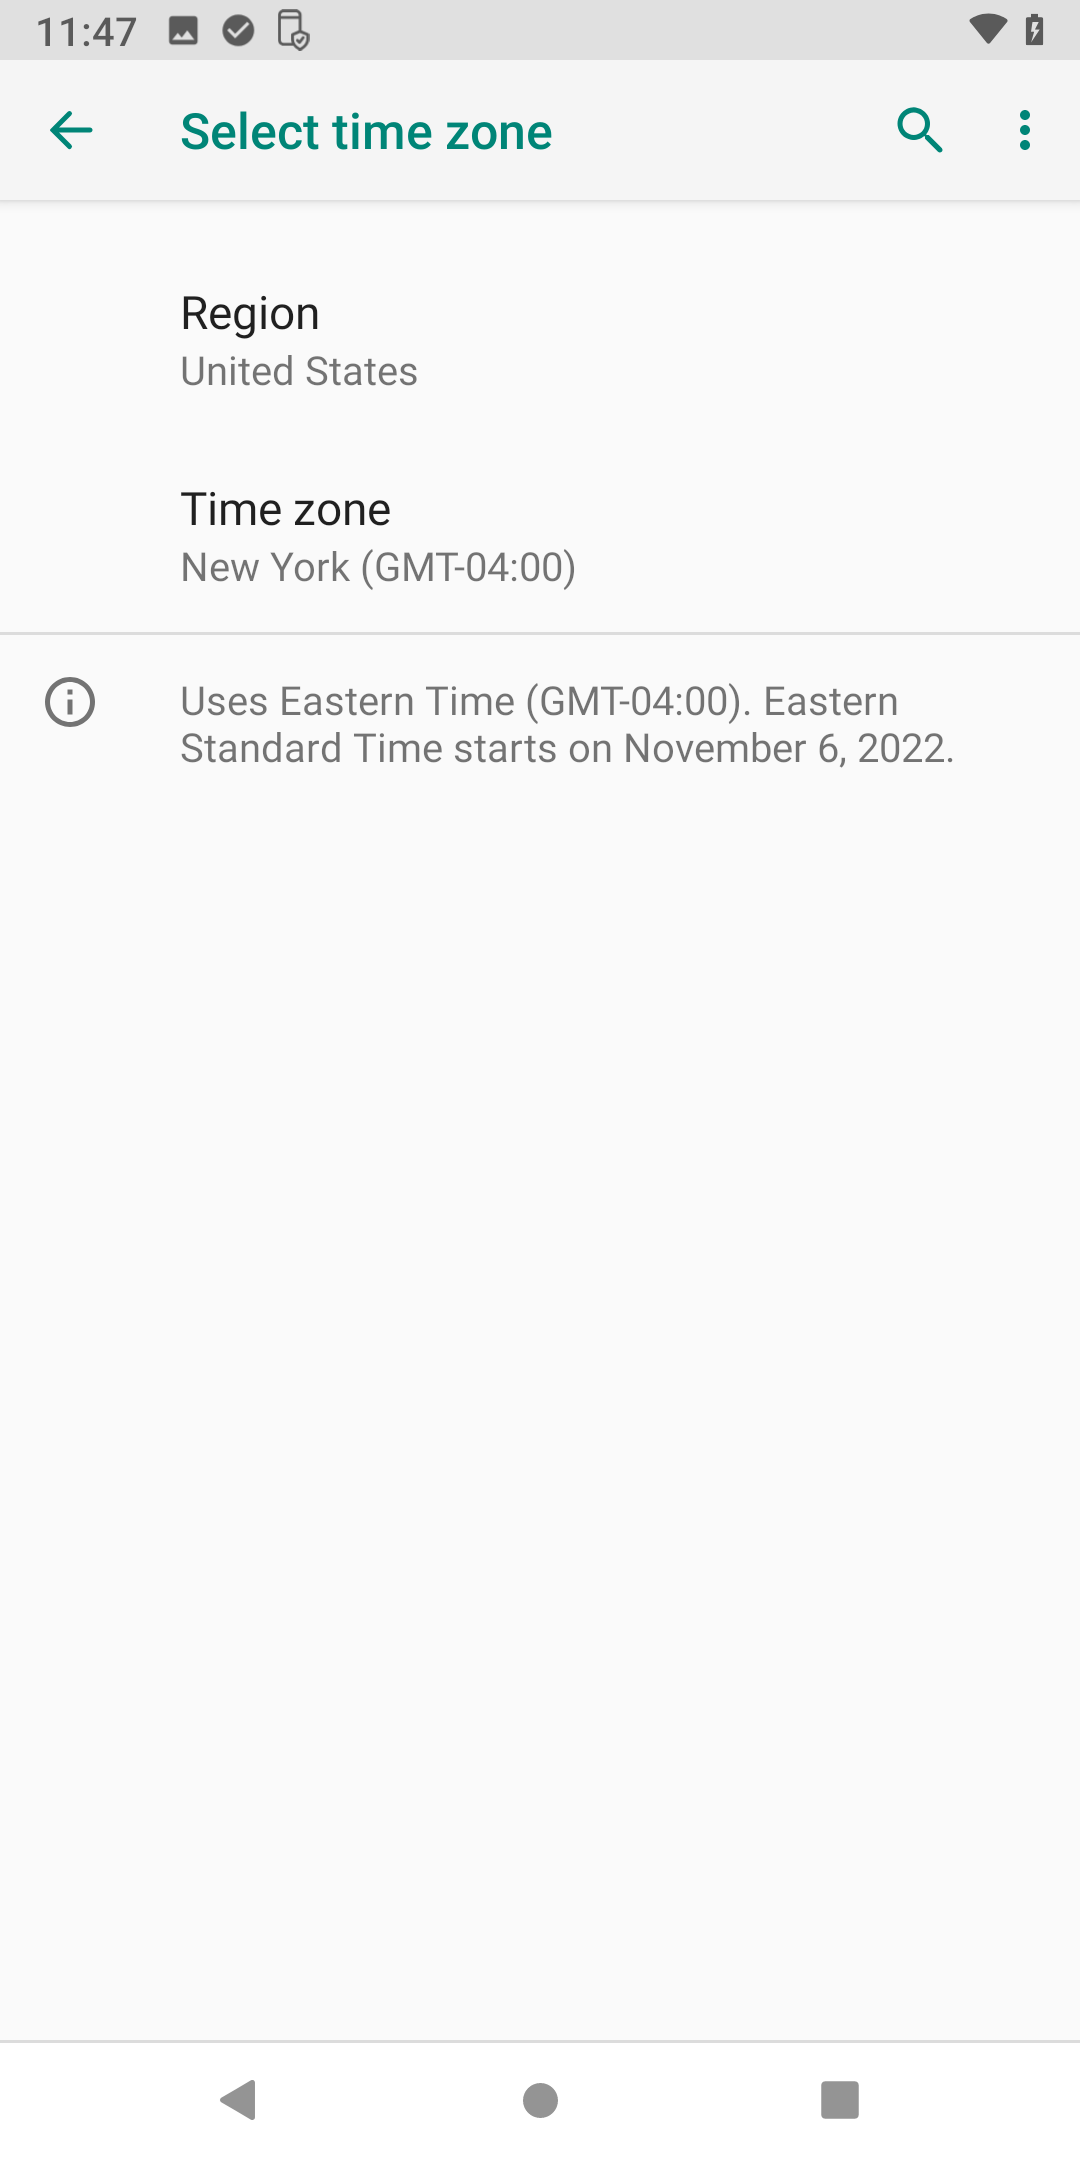
- Tap the time zone of your restaurant.

Tap thecircle at the bottom centerof the screen to return to the home screen. 
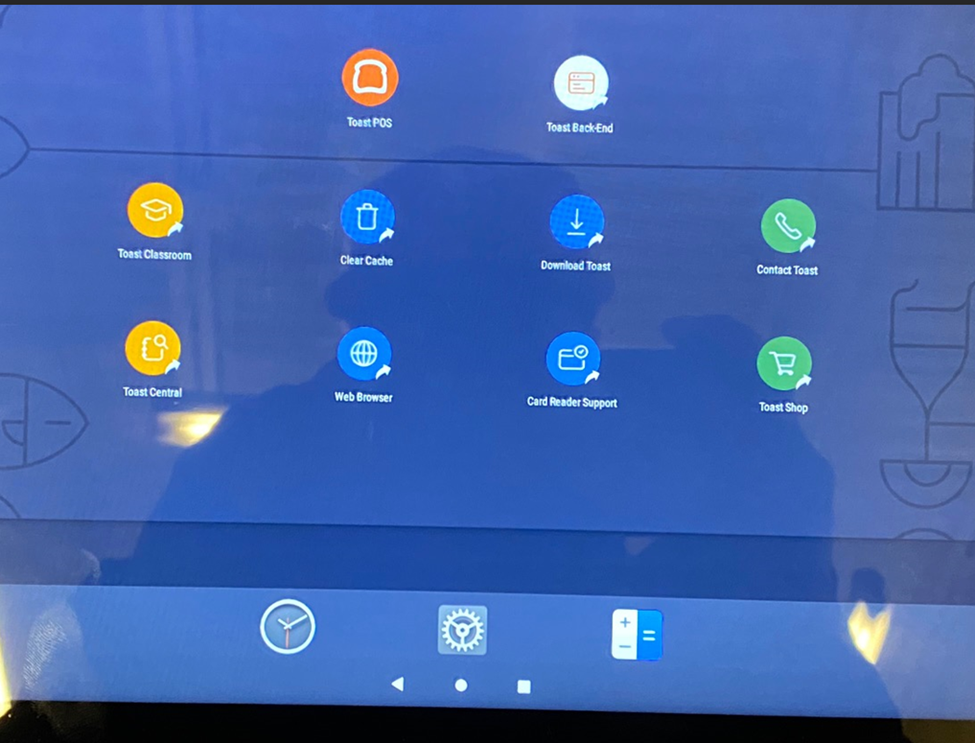
Configure Toast appTap thecircle at the bottom centerof the screen to return to the home screen. - Tap theToast POSicon to open Toast.
The Toast app will need to be paired to your restaurant. Any manager with access to the backend of Toast can login here.
After the app is paired with the restaurant users will still need to use their own passcode to login into the Toast app.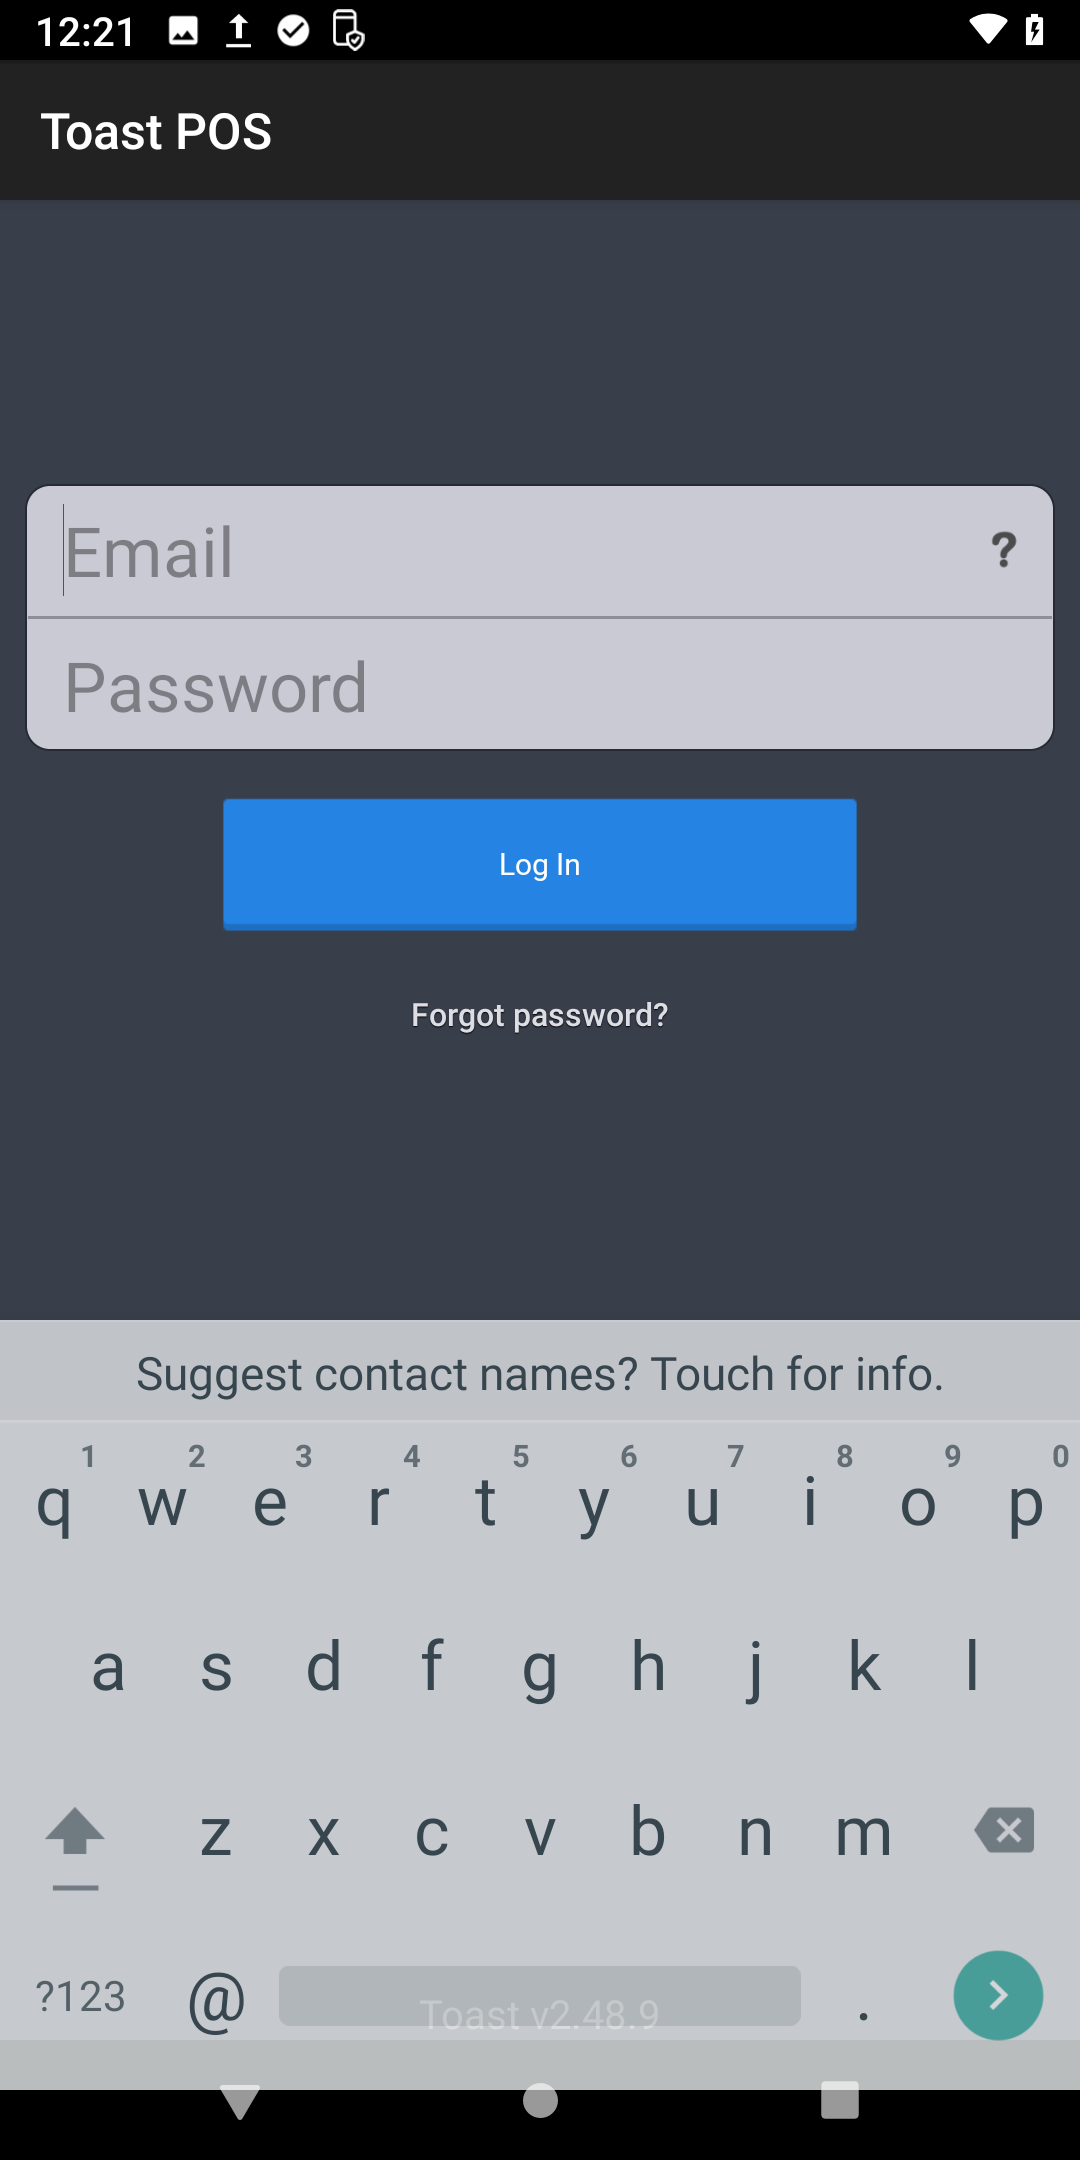
The Toast app will update if possible. After the update is complete tap Install Toast. Toast will close, wait 30 seconds for Toast to open again. You will need to login again with any managers Toast account. 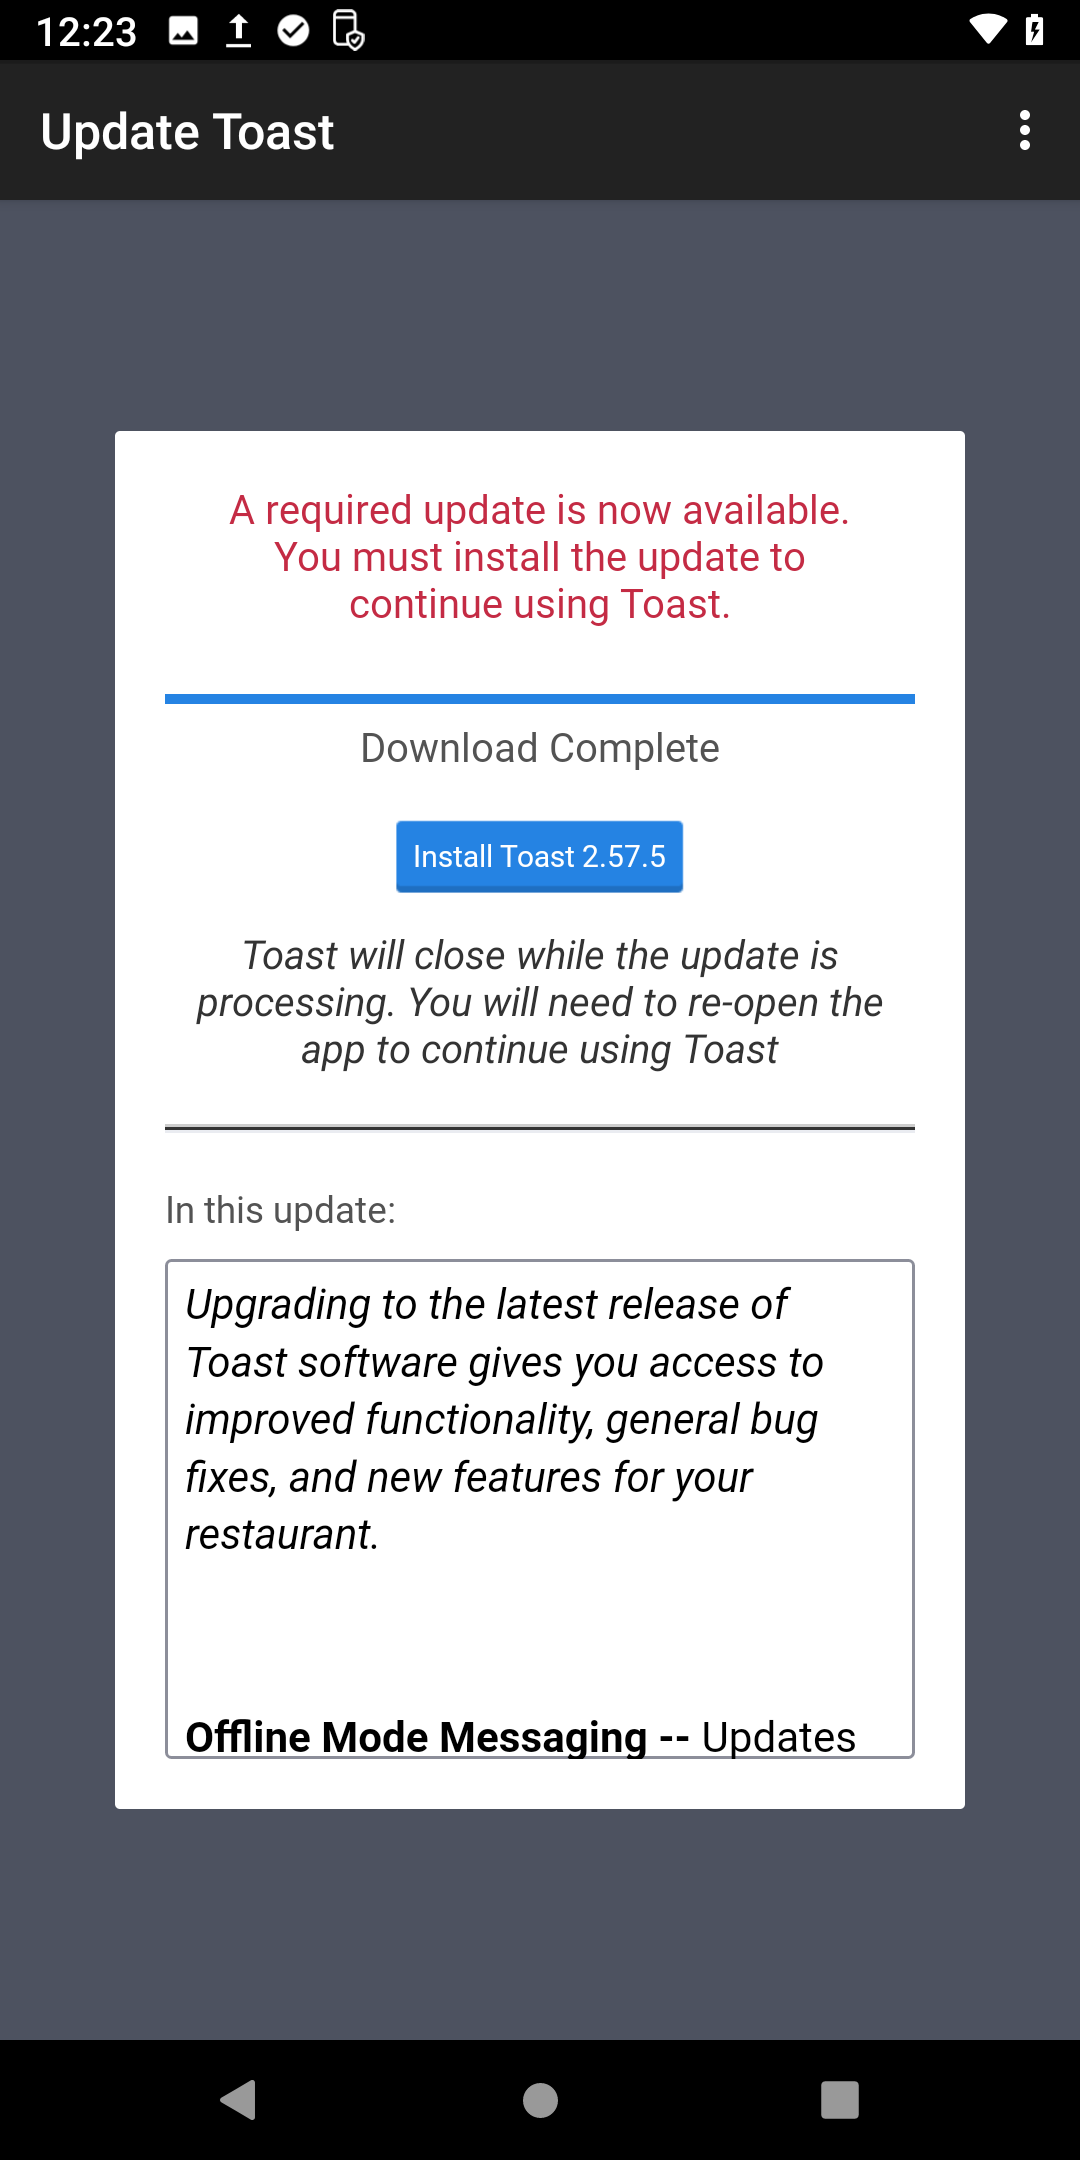
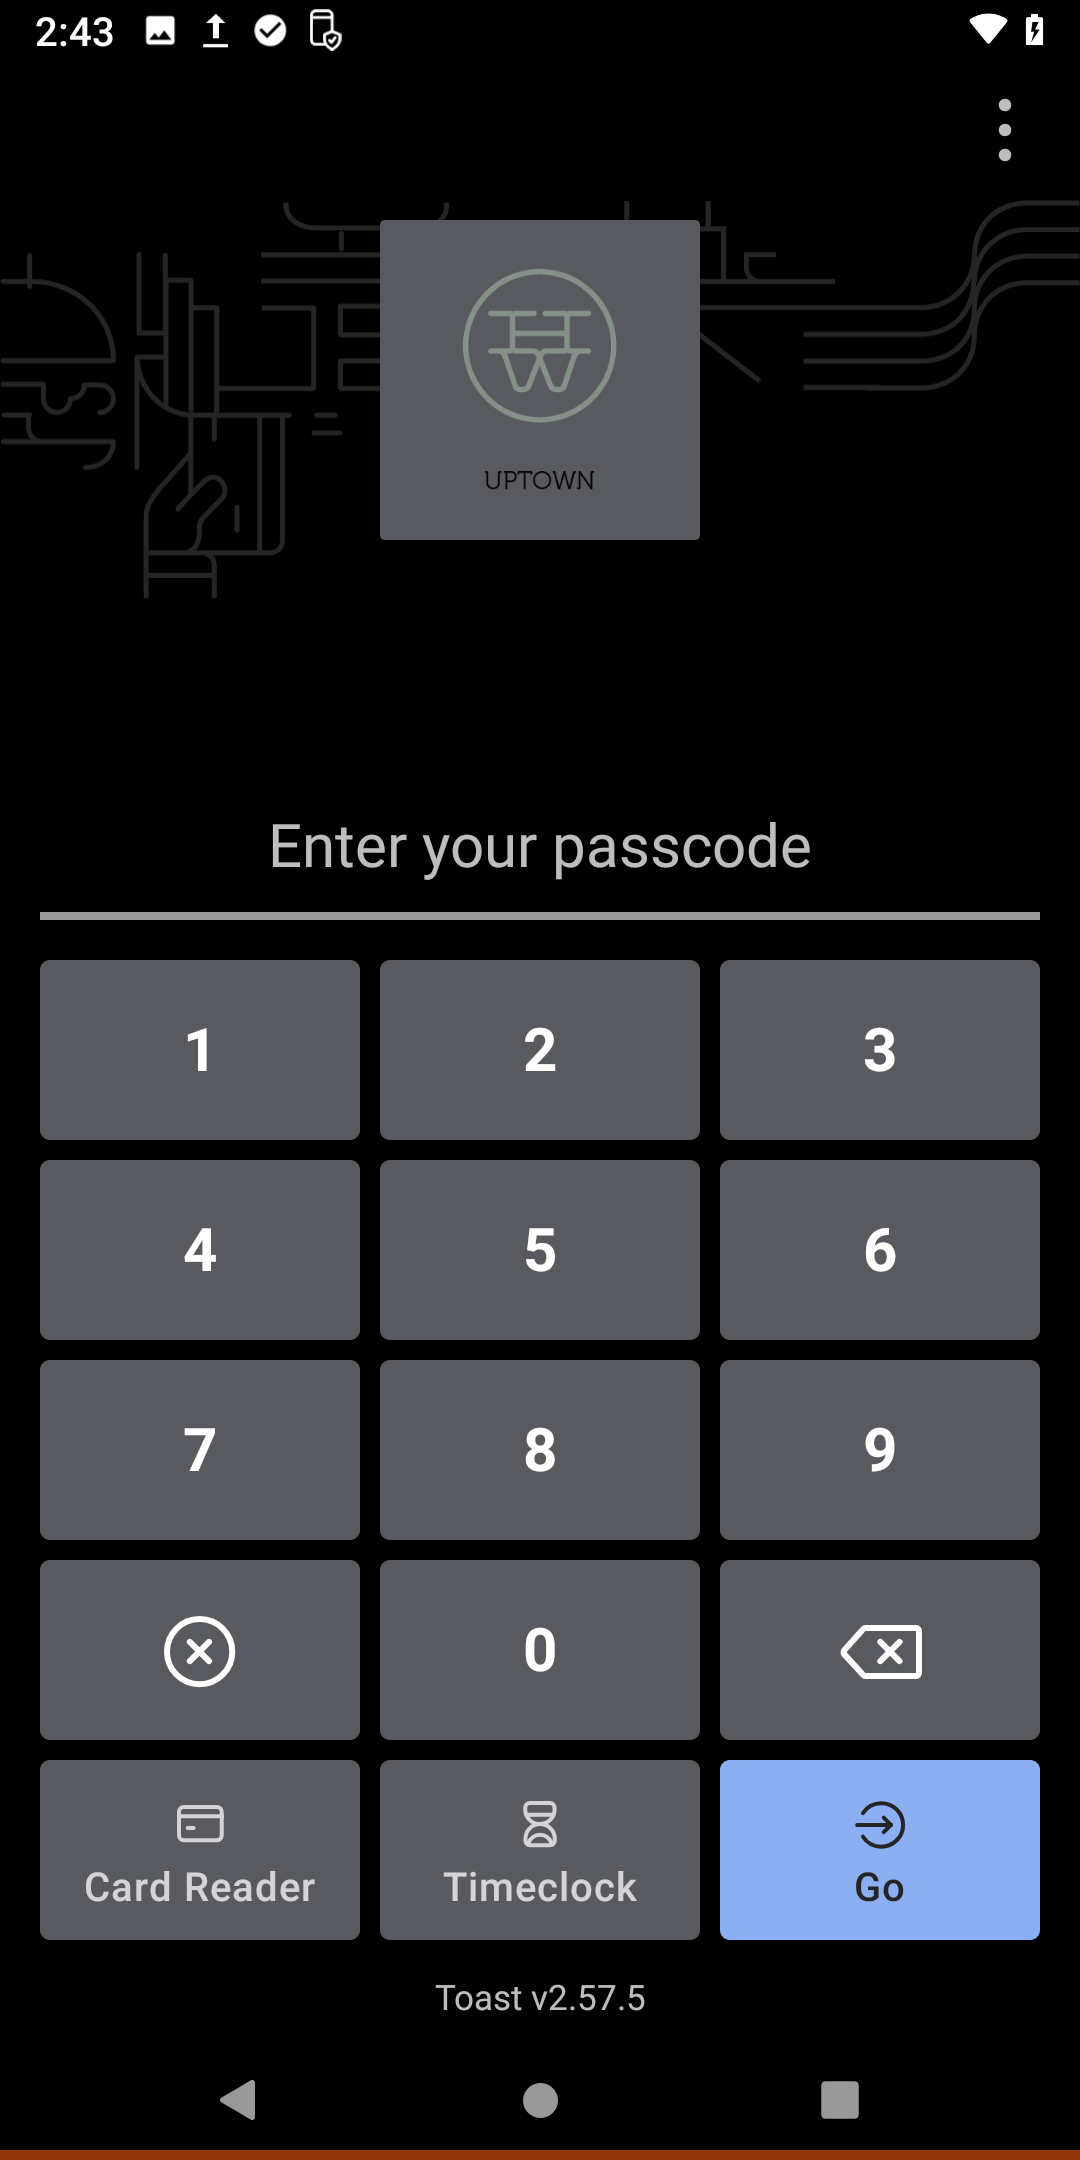
- Enter the passcode (or swipe) for a manager to configure the Toast App.
If your asked to update the card reader go ahead and tap Download. Then tap Install.
After that is done tap Continue.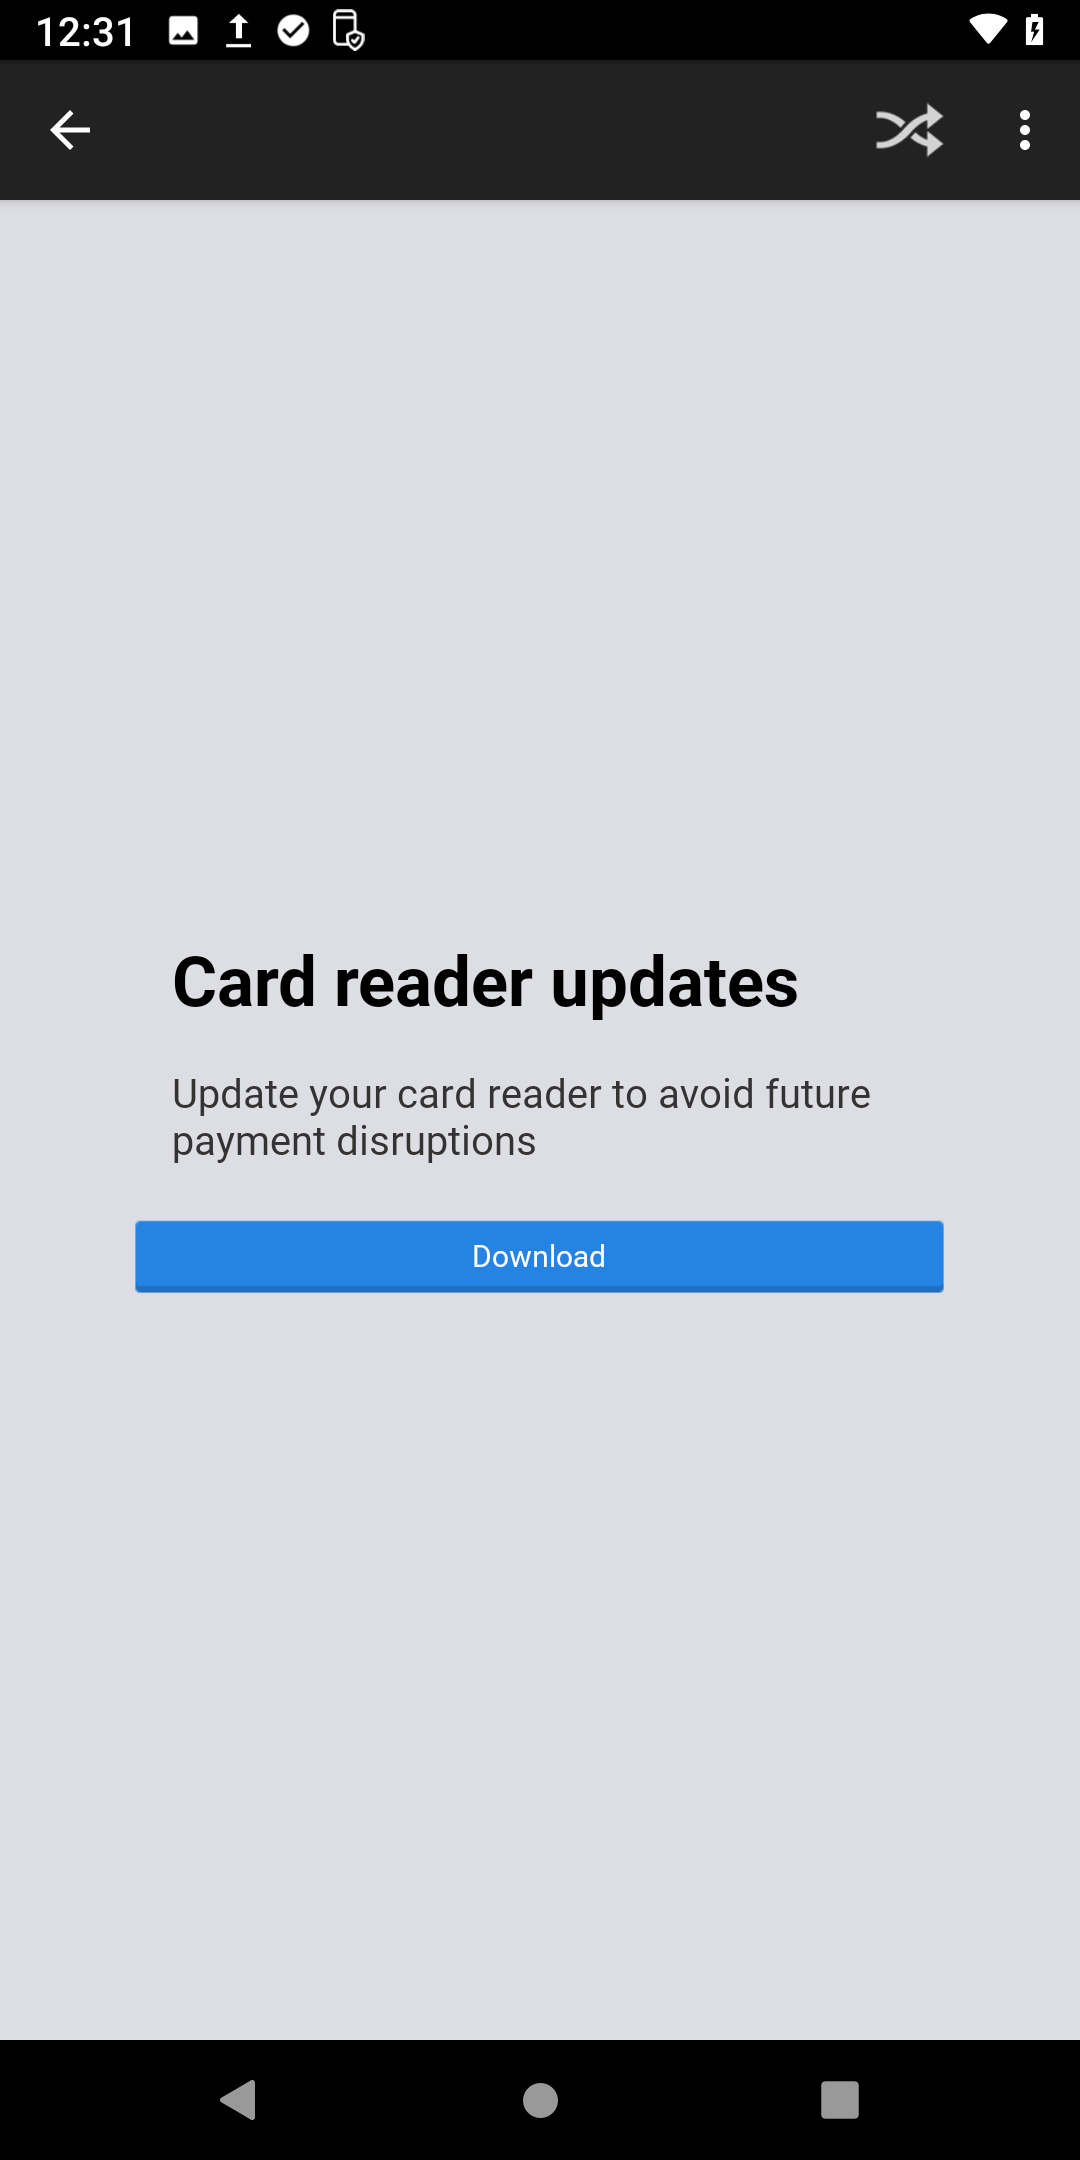
- Primary Mode
Select the screen Toast defaults to.
this could be Table service for servers. Or payment terminal for Bartenders.
After selecting one, tap Save.
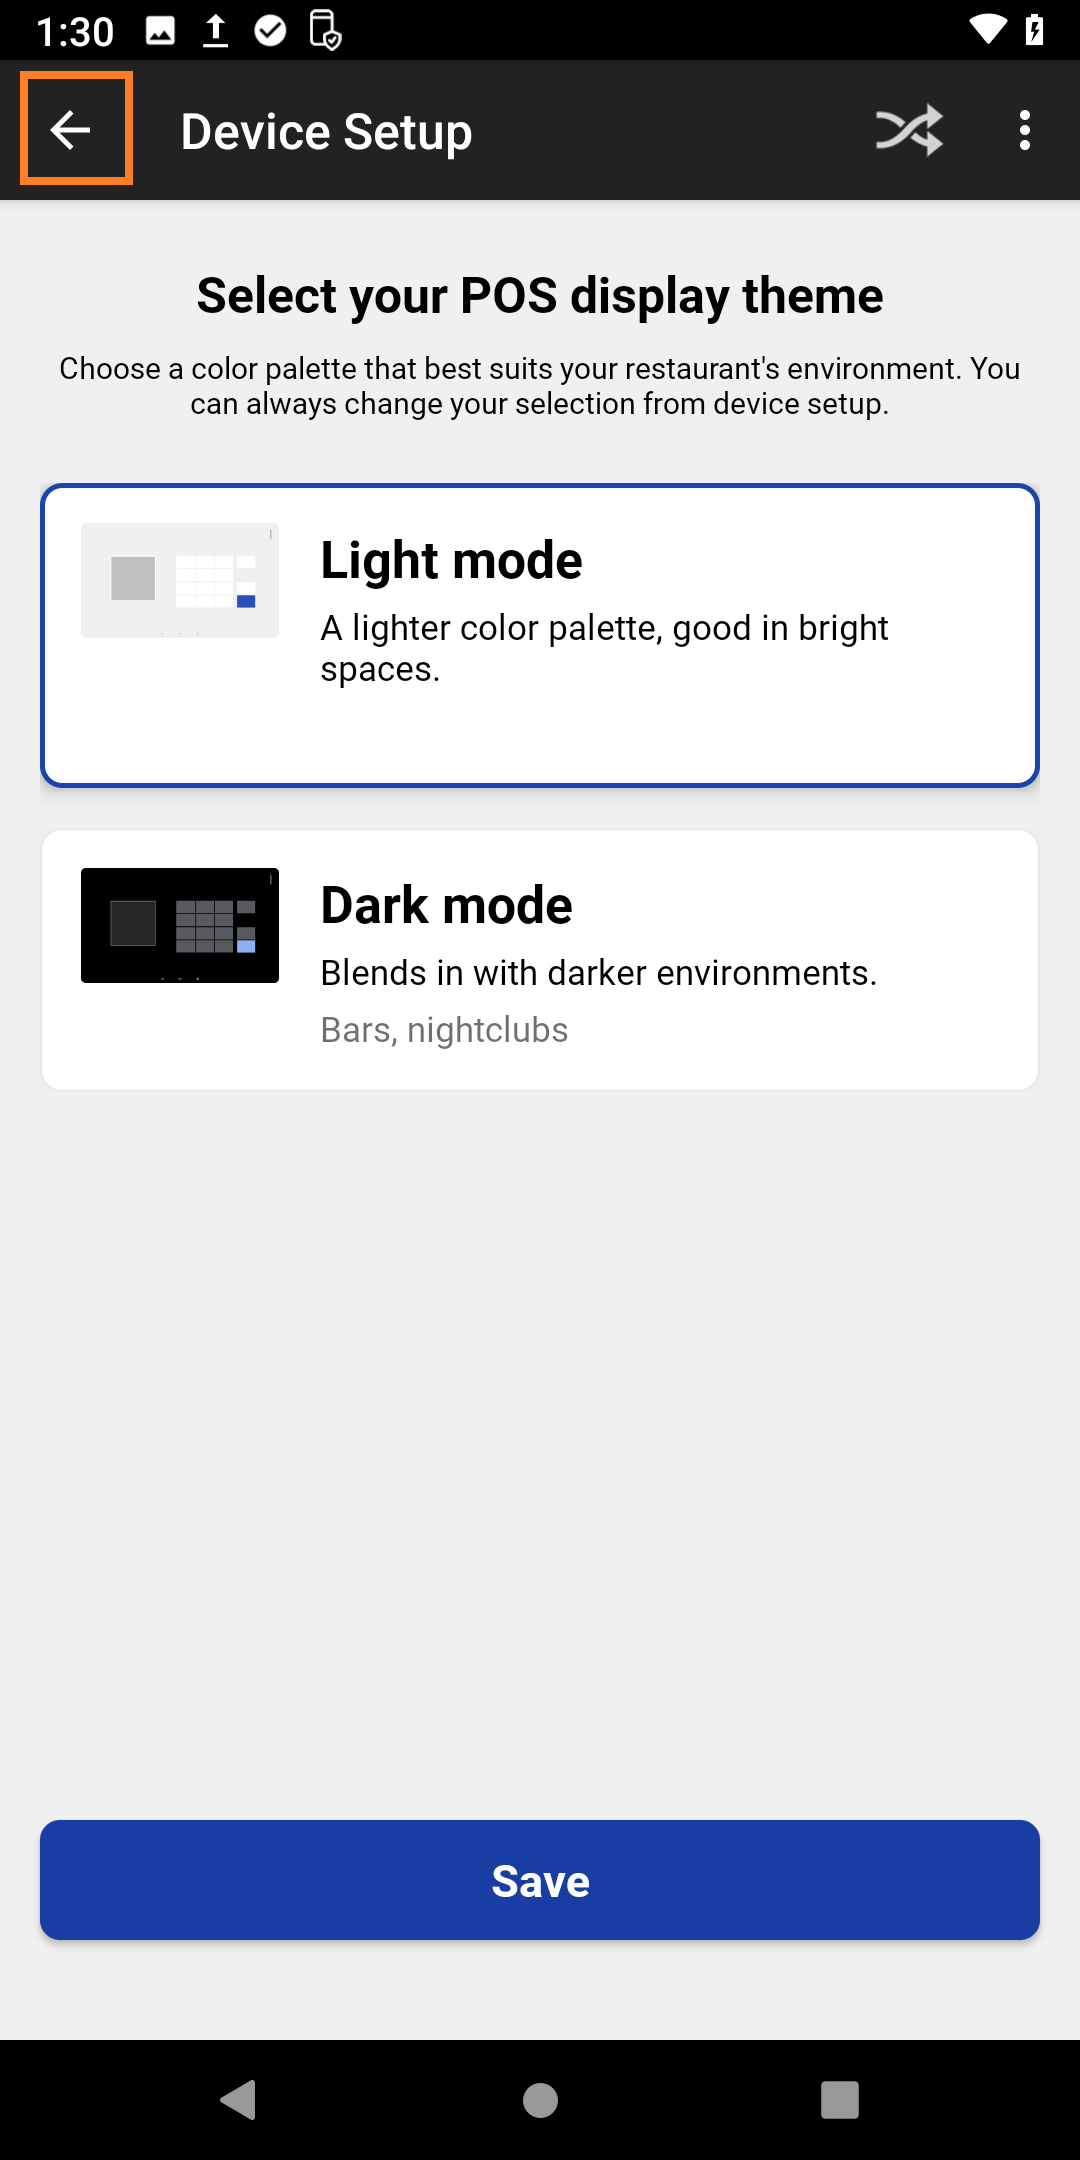
- POS Display theme/Dark Mode
You can selectDark mode, then tap Save. 
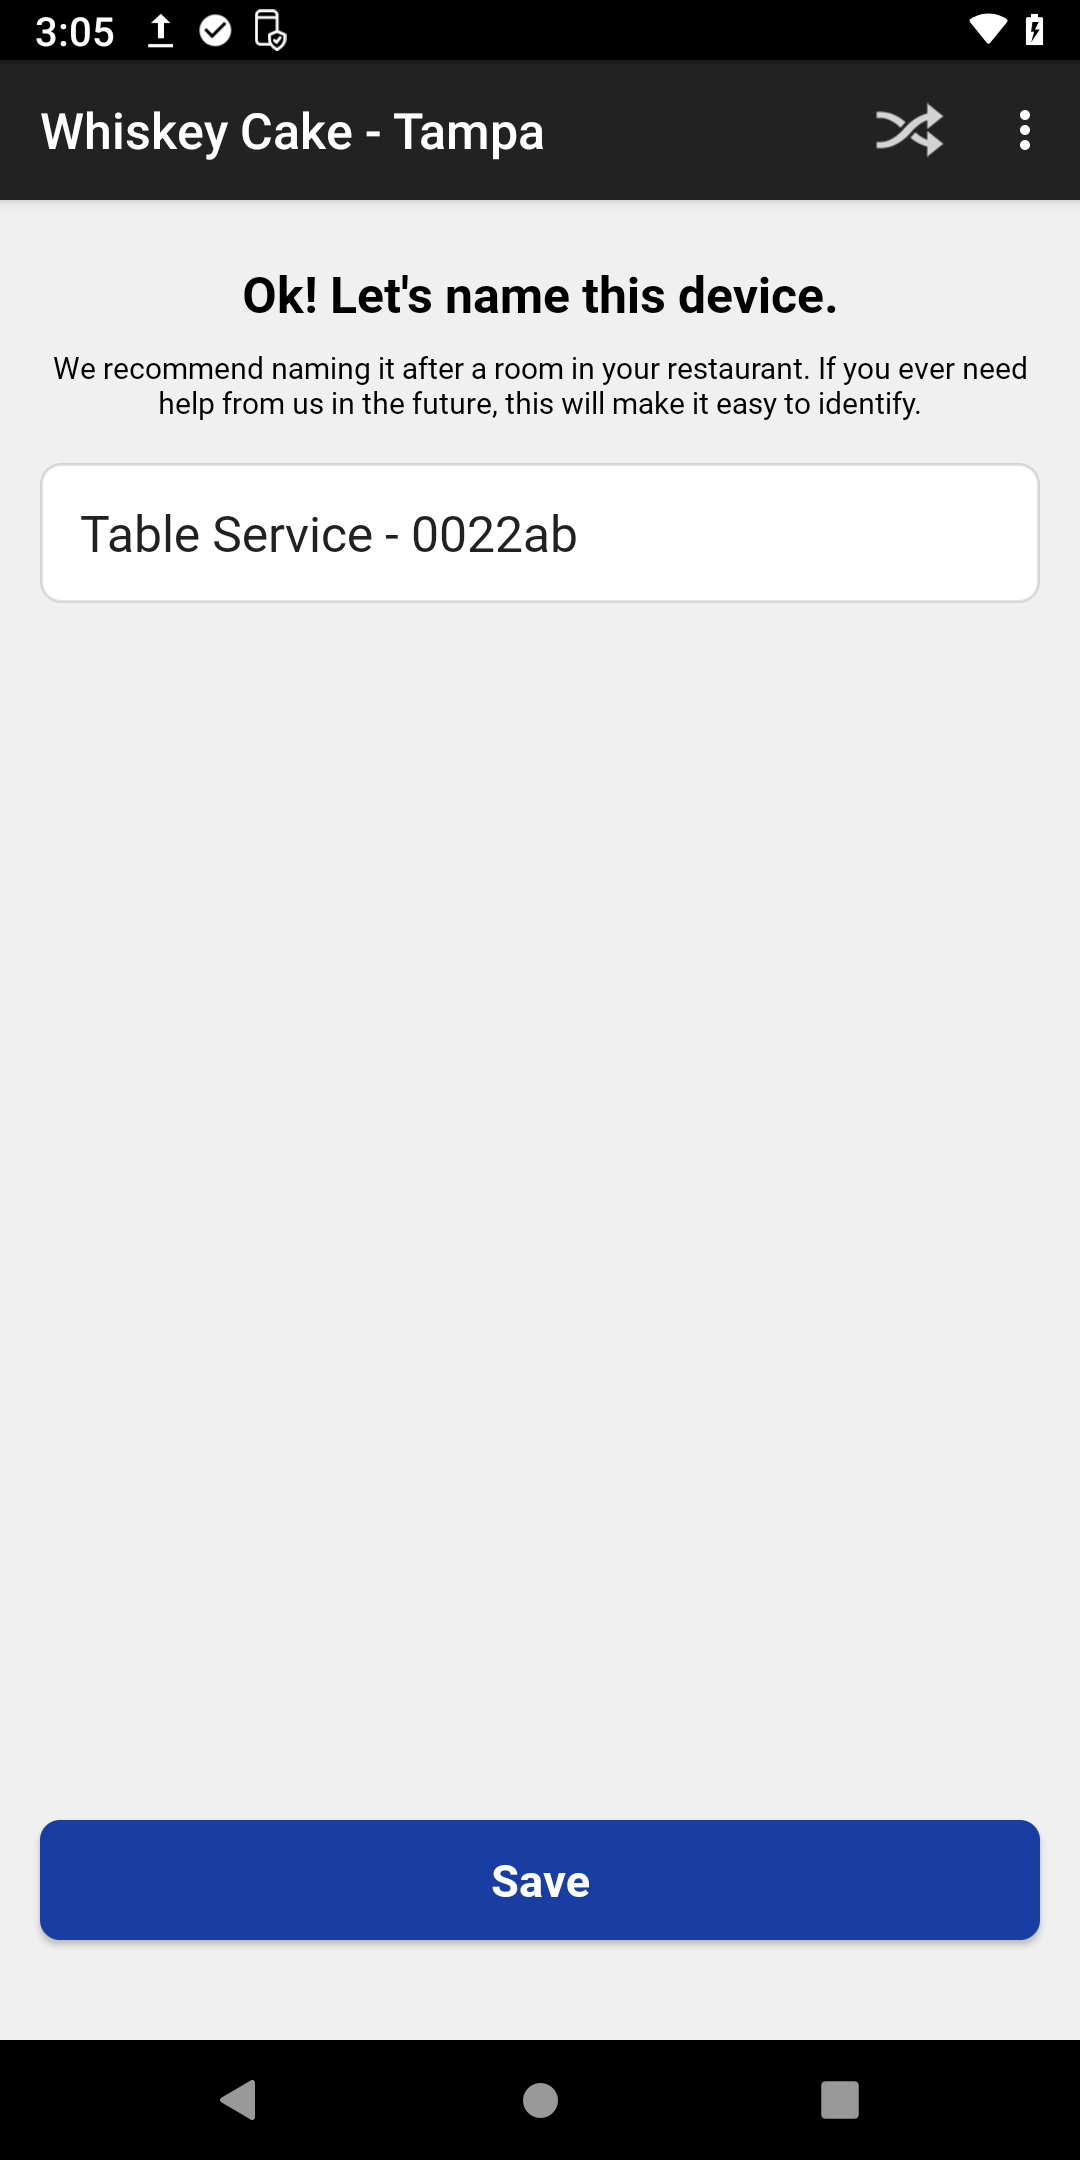
- Device Name
If you're replacing a broken Terminal, copy the name of the terminal being replaced.
If the broken terminal was Dining 1, name this replacement terminal Dining 1 and affix a Dining 1 label to the back. The label helps us keep track of any issues a terminal might have.Once named tap Save.
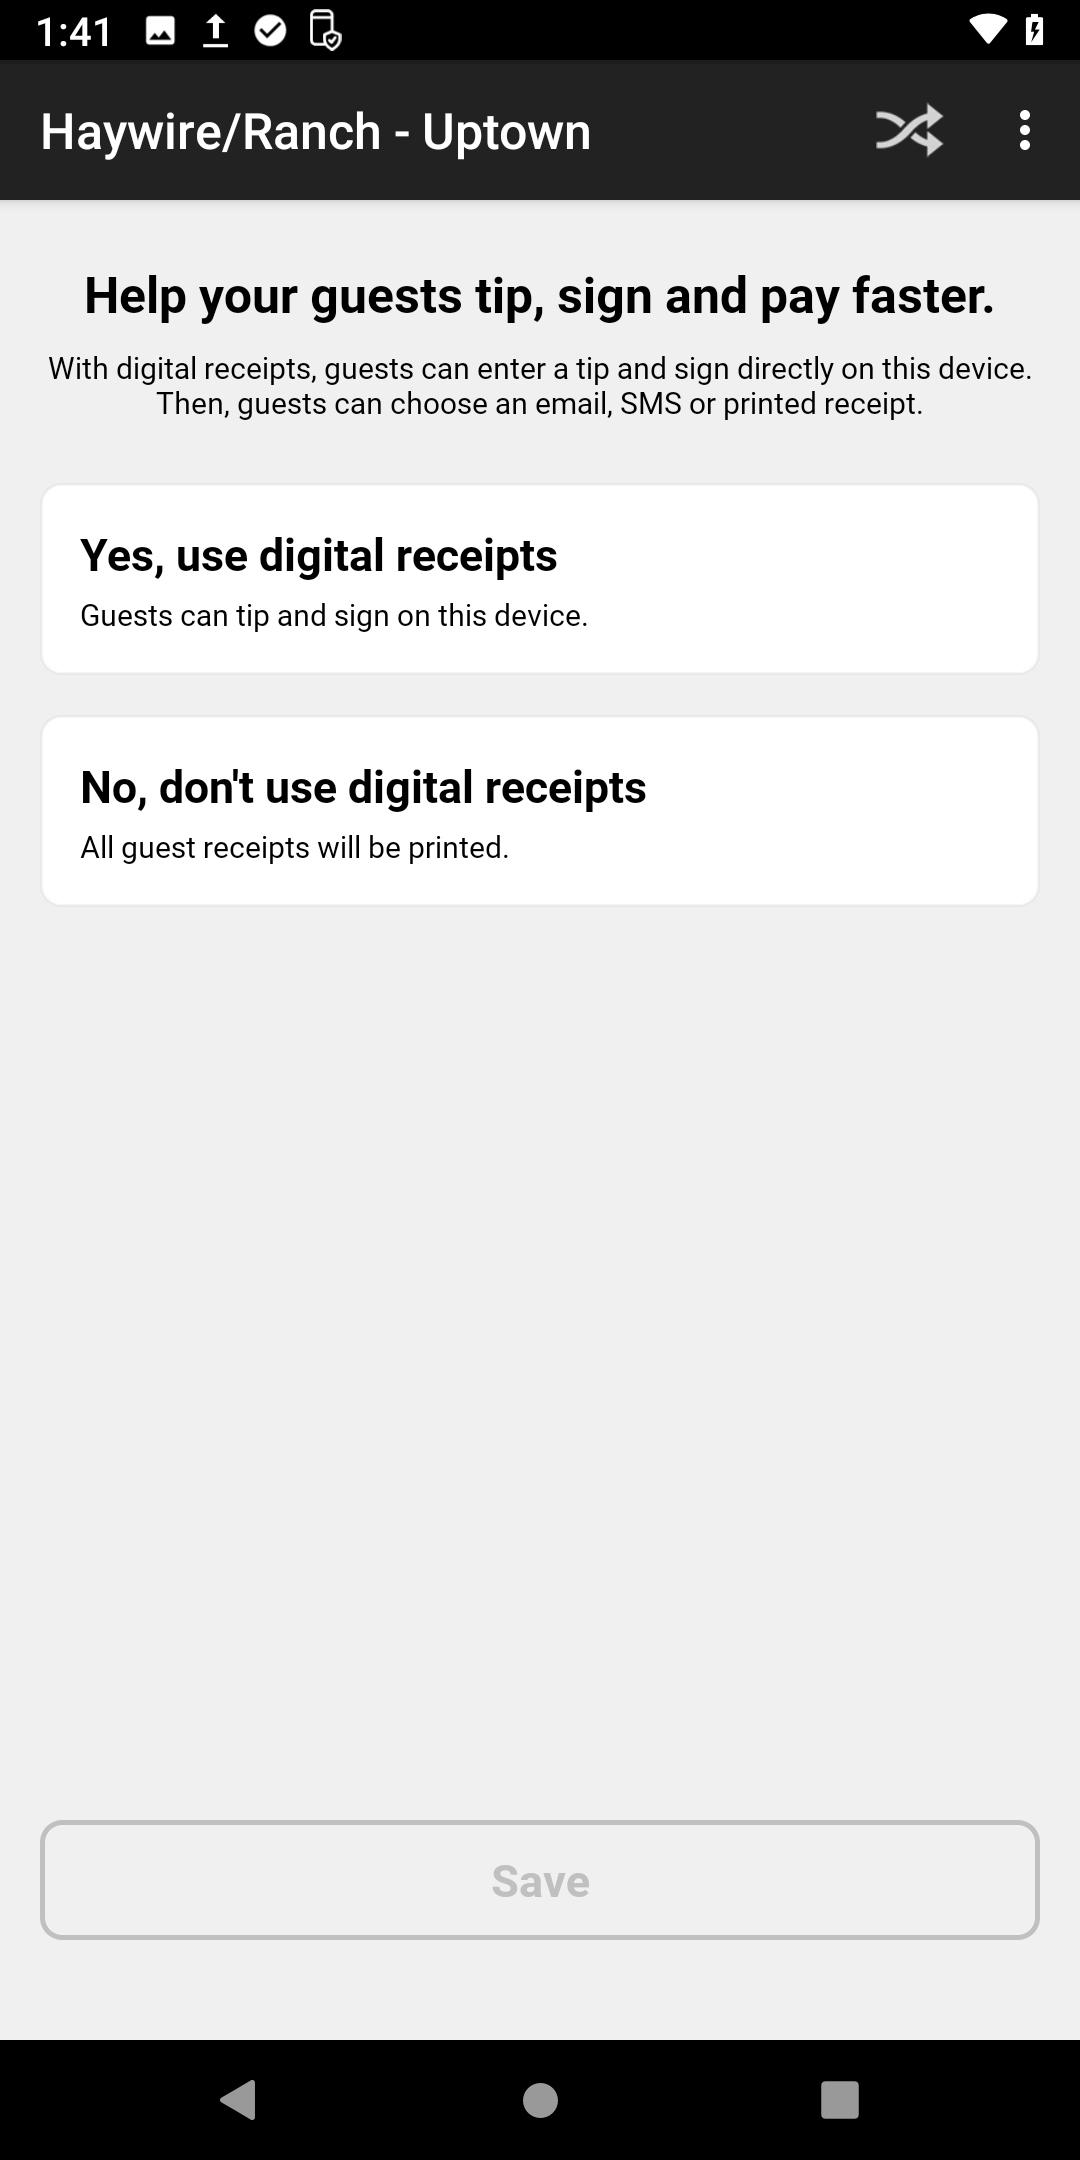
- Digital Receipts
Digital receipts allow guests to tip, sign, and request SMS or email copies of their receipts. Tap No, use digital receipts.
Digital receipts are not used for Toast terminals, only handhelds.
Then tap Save.
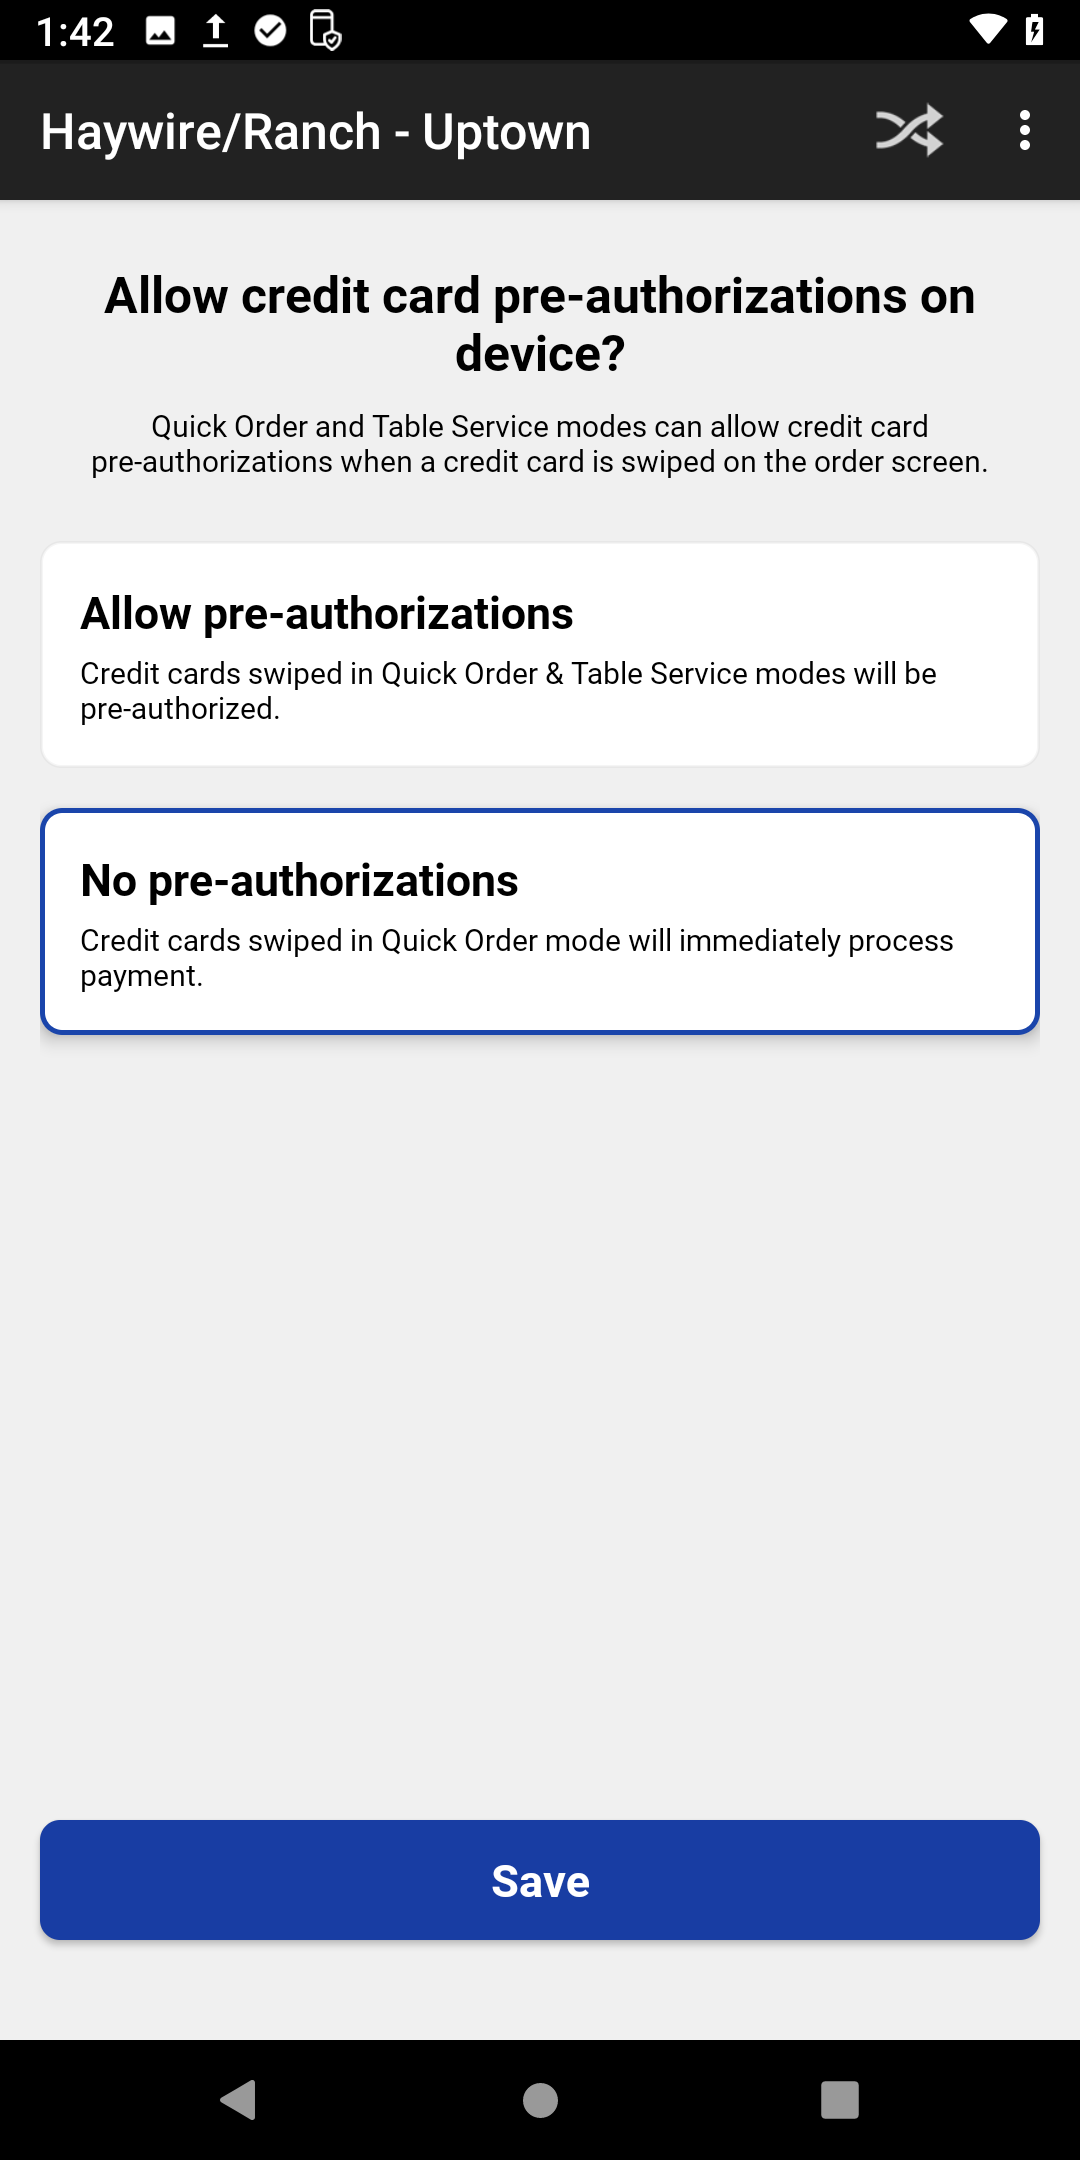
- Credit Card Pre-Authorization
Pre-authorization allows the terminals to open tabs.
For terminals used by bartenders tap Allow pre-authorizations.For terminals used by servers tap No pre-authorizations.
TapSave.
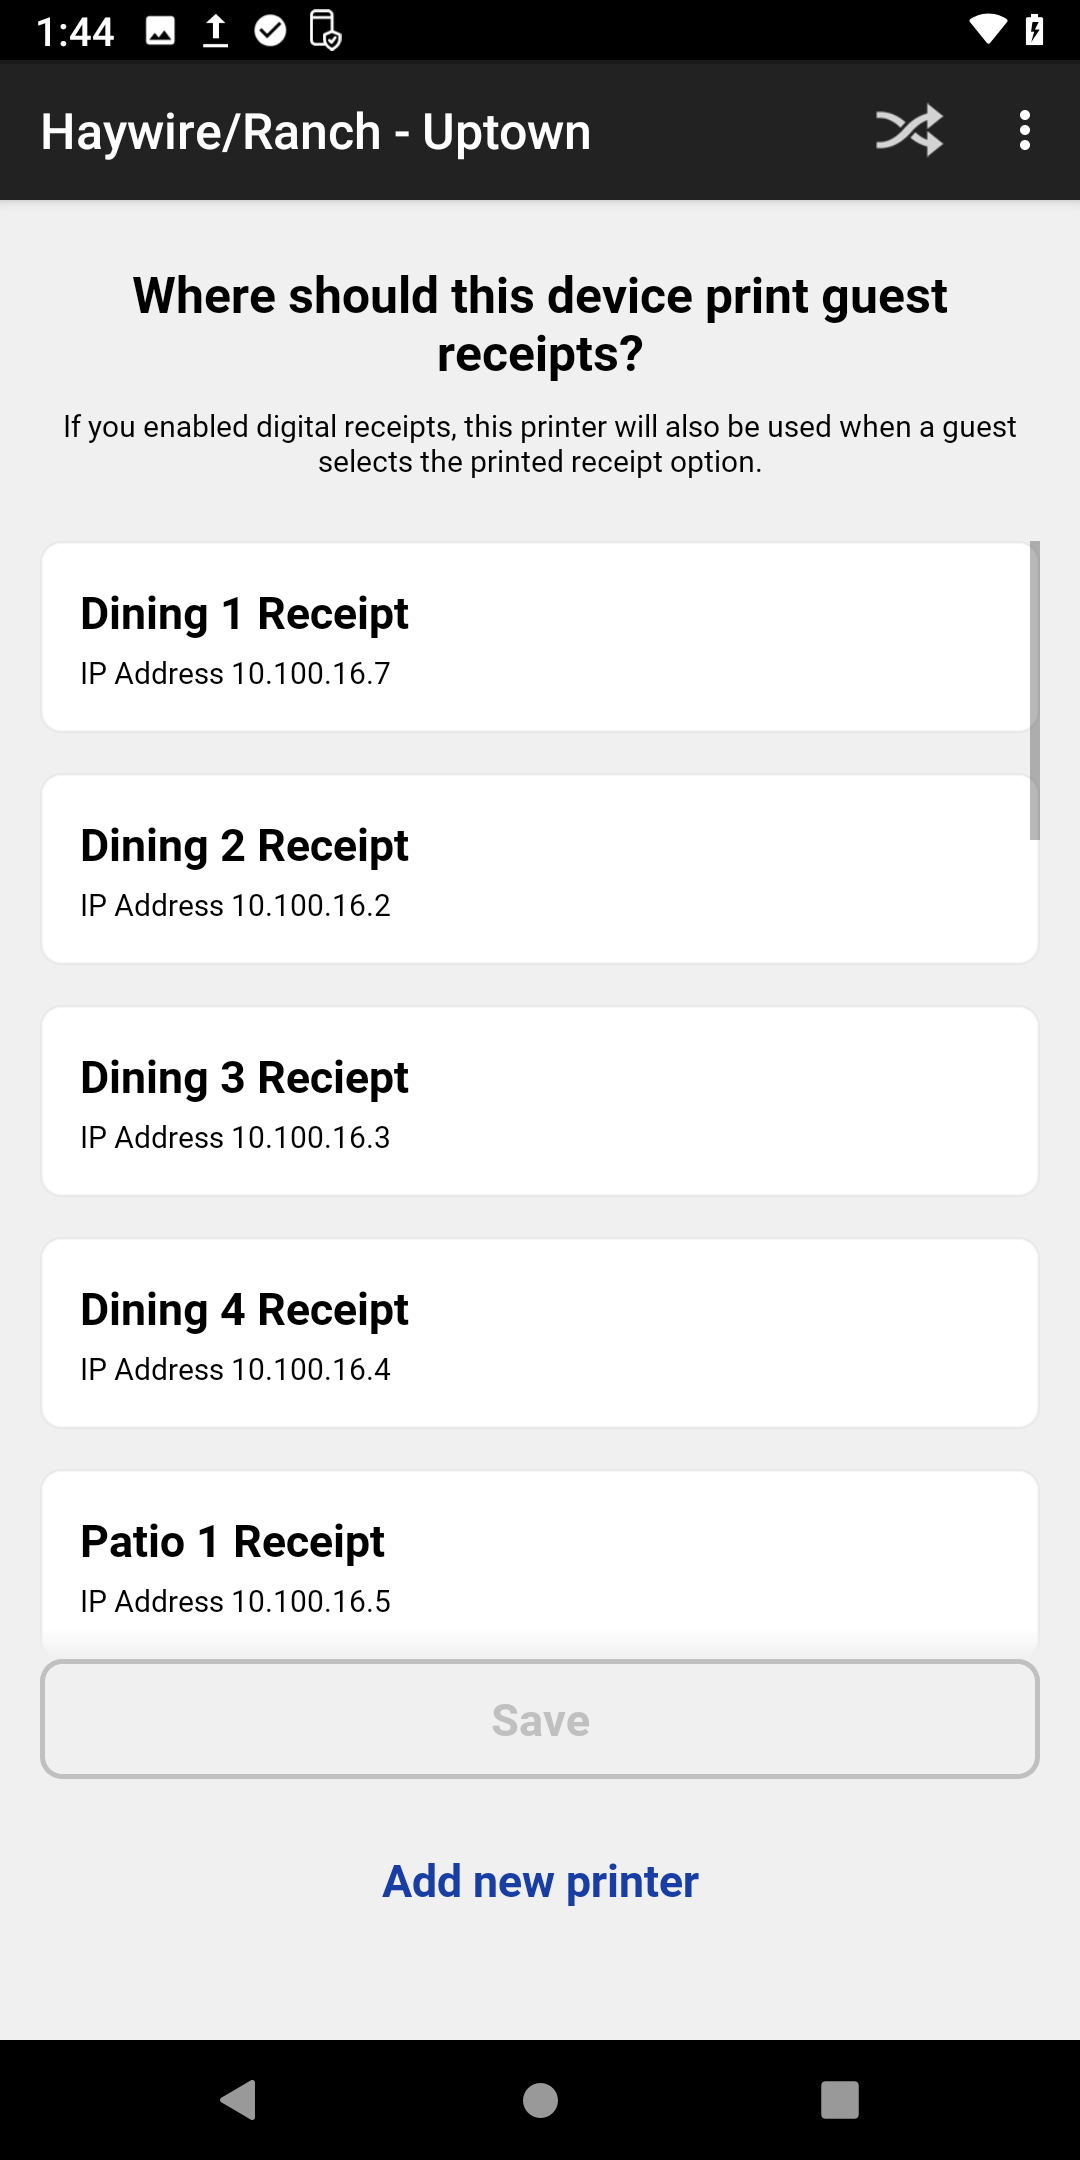
- Receipt Printer
Select the receipt printer this terminal will print guest receipts at. If there is a cash drawer attached to the printer you will be asked if the drawer should open when a cash payment is made.
If this is a bartender handheld tap Automatically open drawer.If this is a server handheld tapDon't open drawer.
Once named tap Save.
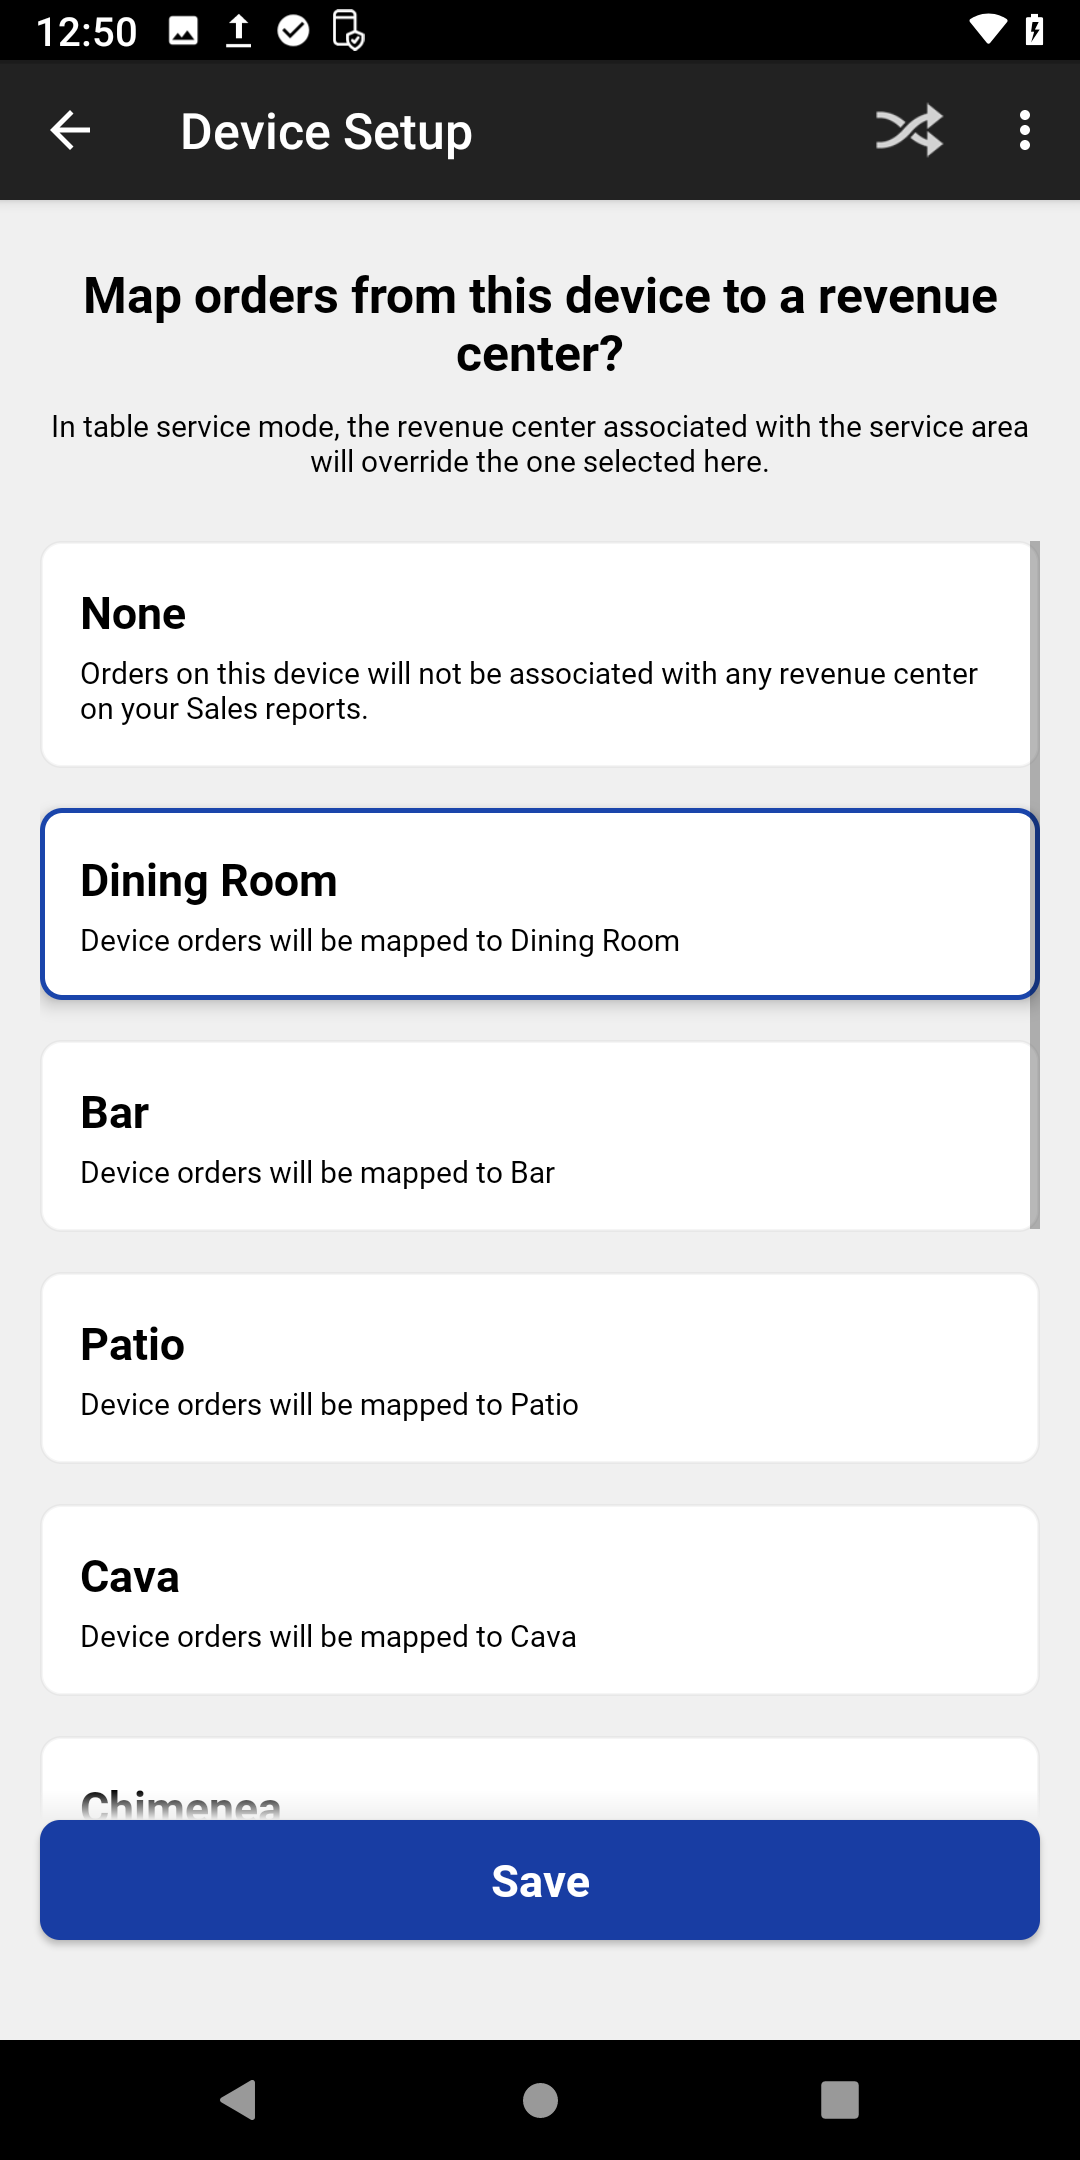
- Revenue Center
Select your Revenue Center.
Toast will stop prompting for configuration and say it is ready to use. We have a couple more settings to check though.
Tap Done.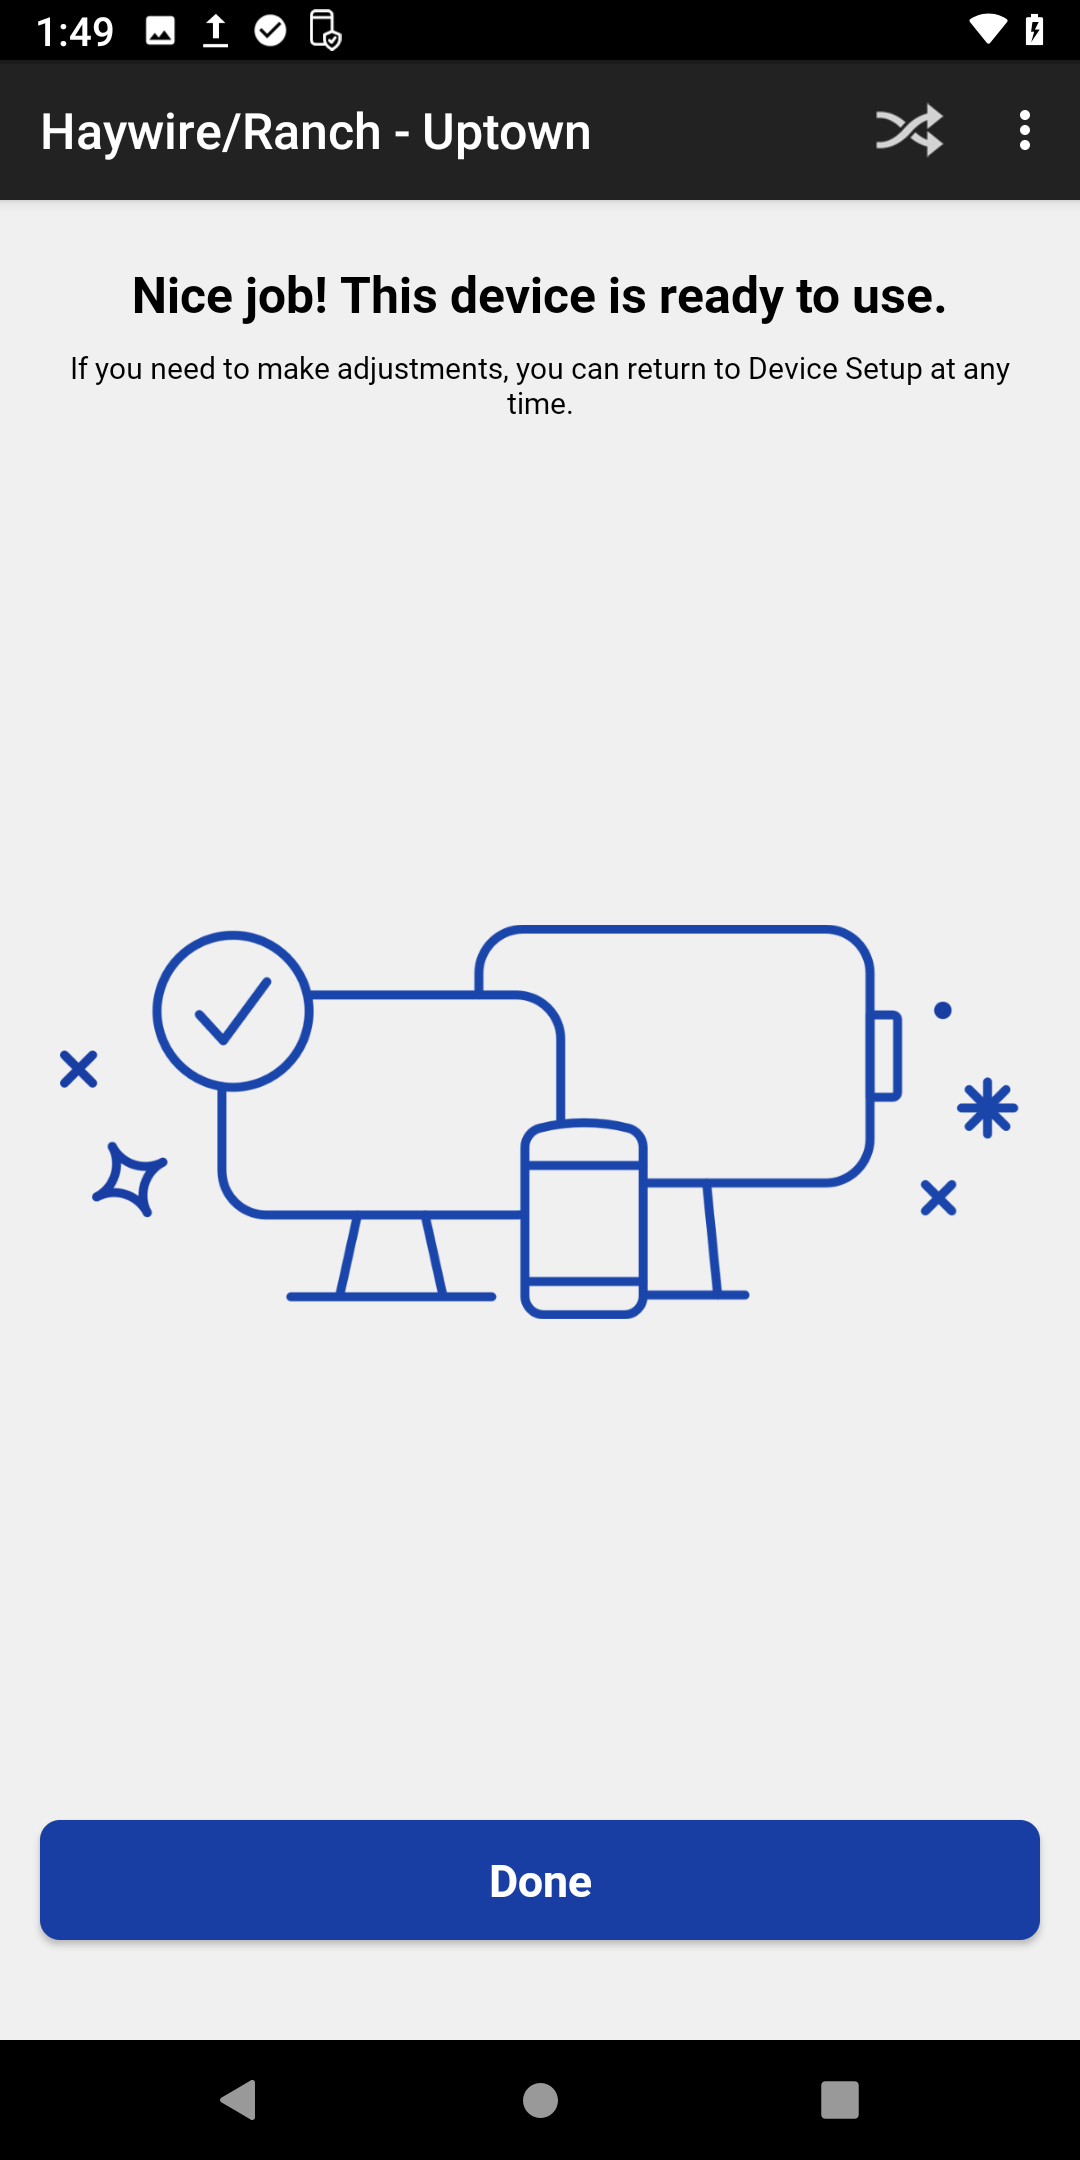
- Device Setup menu
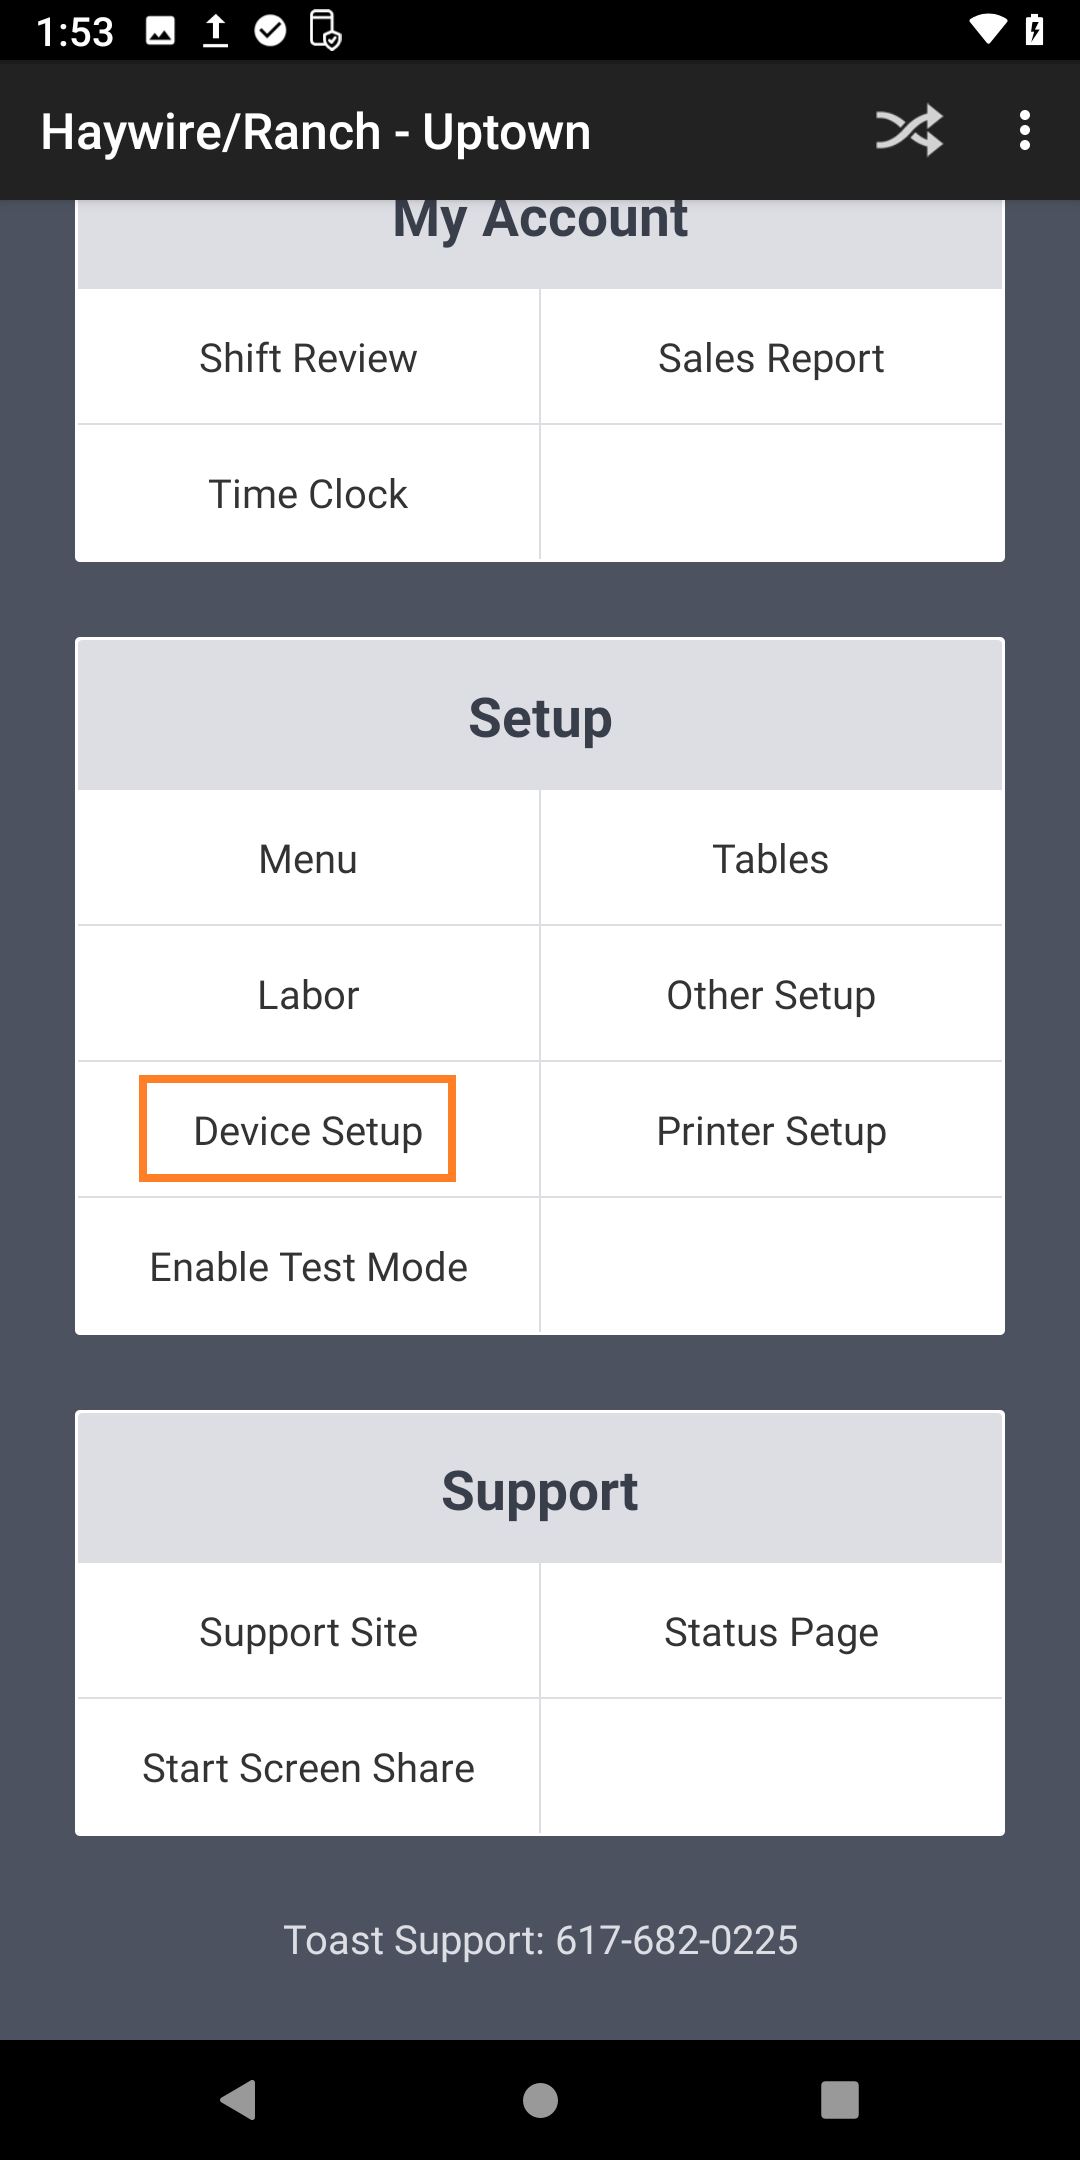
Tap the back arrowat the top left of the screen until you see the Toast menu.
Scroll down and tapDevice Setup, which is listed under Setup.
- Non-Printing Prep Stations
If your restaurant uses non-printing prep stations to send tickets to one or the other bar printer, scroll down and tapNon-Printing Prep Stations.
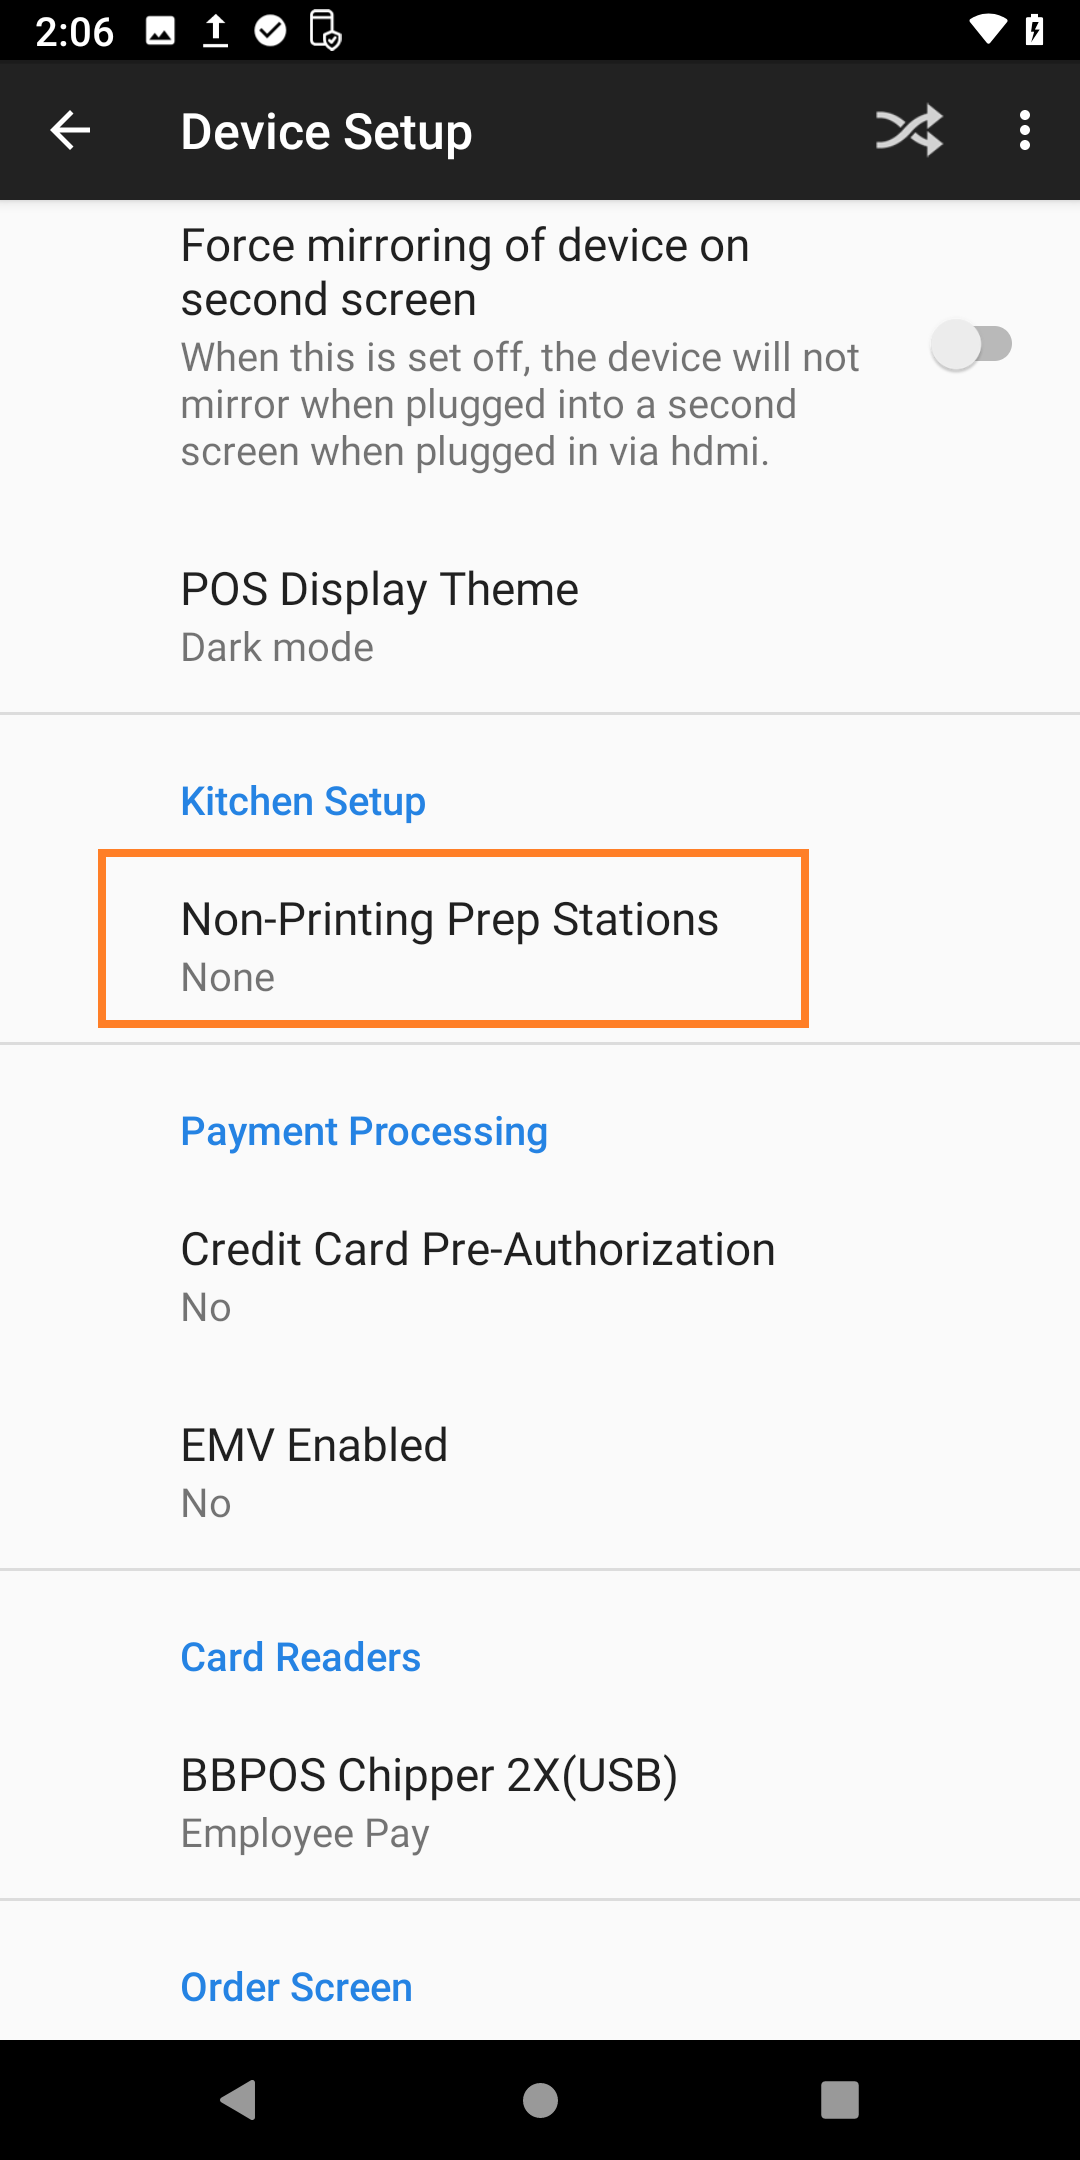
On this screen select any printers this terminal won't print to.
e.g. if you have two bar printers, and this terminal only prints to bar 2, then you want to select bar 1 in this list.
If bar tickets are printing at multiple printers, then this configuration is missing from the terminal.Tap Continueonce you've selected any printers this terminal won't print to.

- EMV Enabled
EMV must be enabled to accept inserted and tapped credit cards.
If EMV is disabled, you can only accept swiped credit cards.
Scroll down and tapEMV Enabled.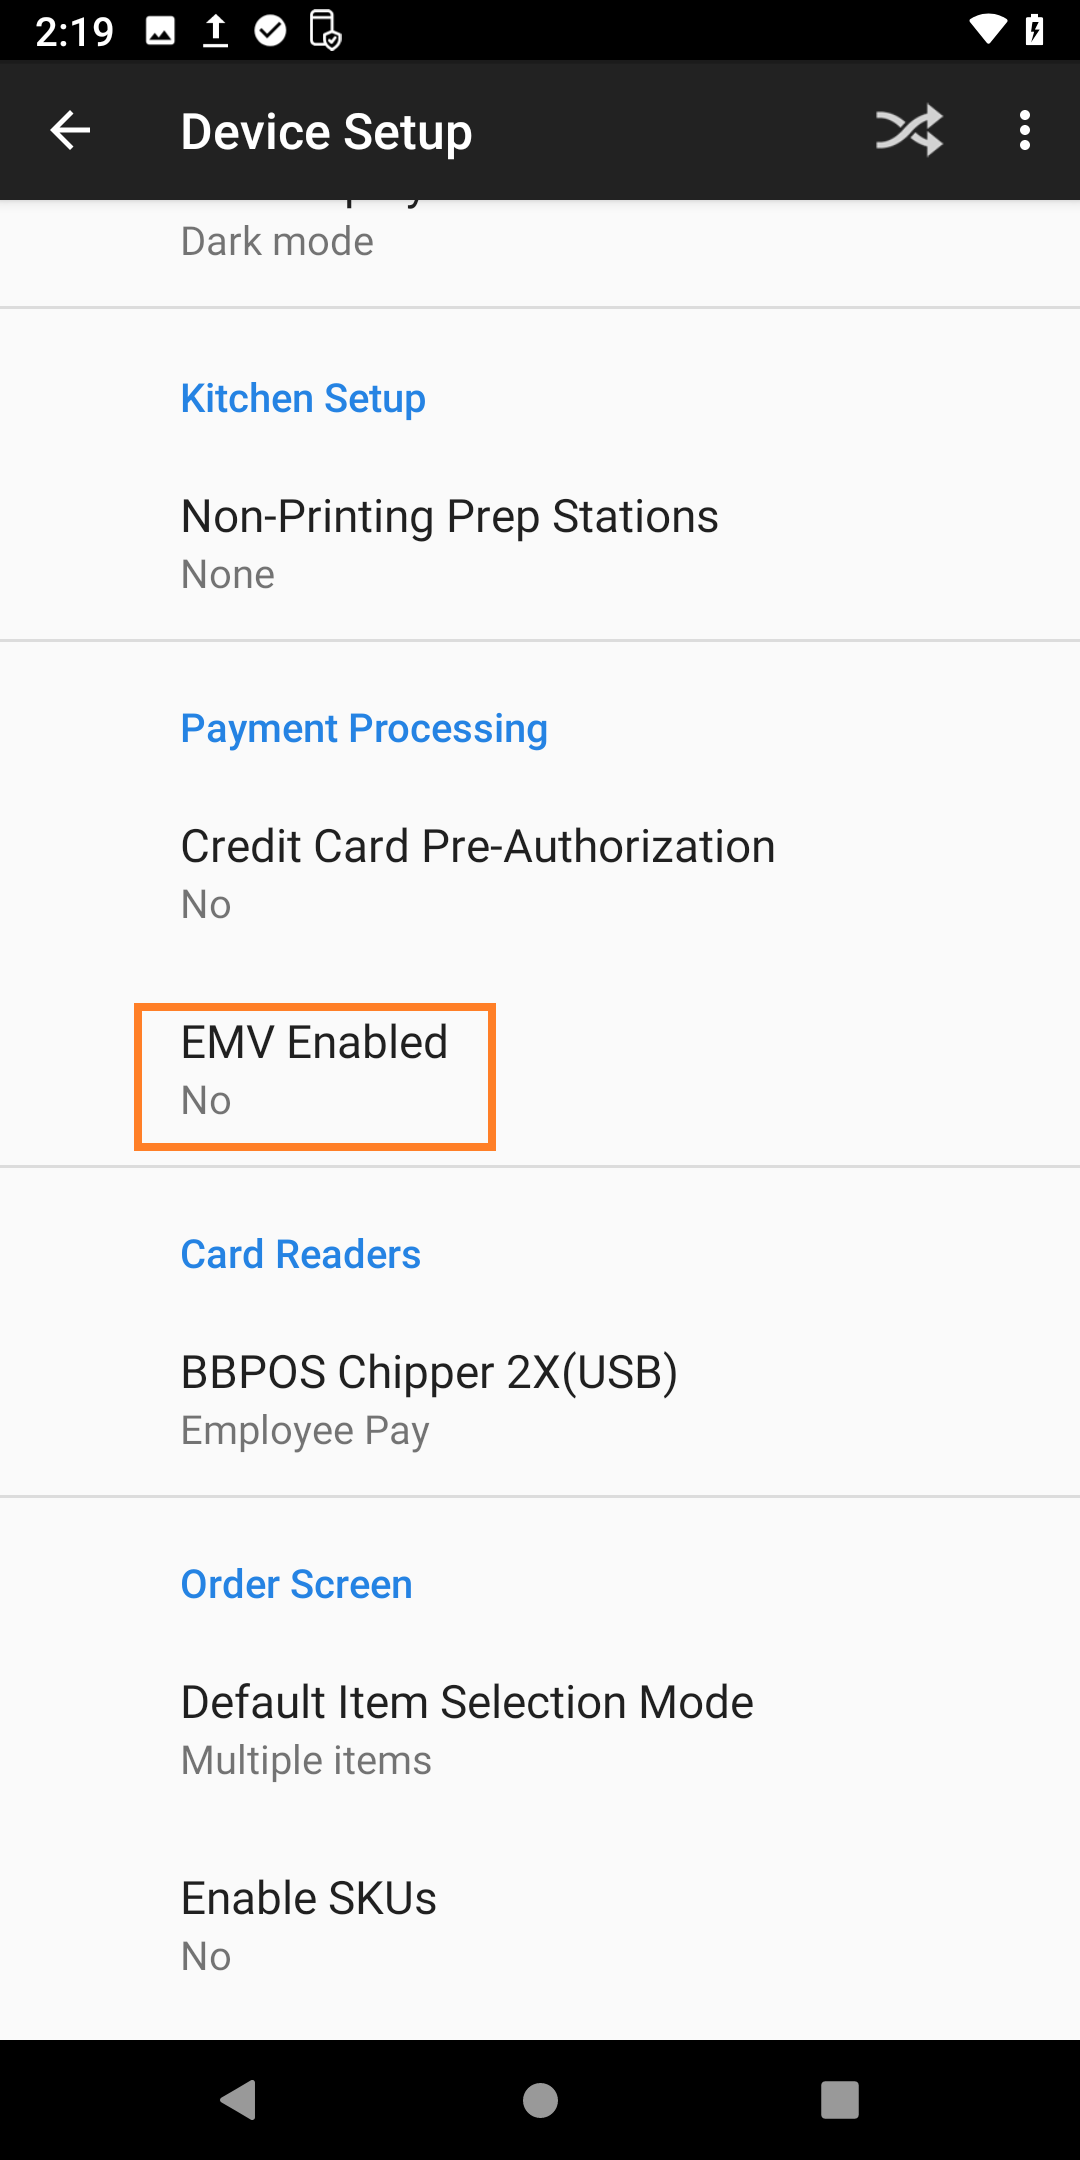
- Card reader updates
You will be prompted to check for card reader updates. Tap Check for Updates. If Prompted tap Install.
After checking for an update tap Close.

- TapYes, then tap Continue.
Finished
| The preparation of the Toast Flex terminal is complete. If you had any issues, please contact the support team atSupport@FBRest.com. |